My Knitting Life

Travel Knitting

The most ridiculous thing happened while I was trying to bang out a sweater before Spring Break. I ran out of yarn with only about 23 rows to go at the bottom of the last sleeve. I quickly ordered more, but the package came more slowly than normal. The postman was pulling up to deliver the yarn as we were wheeling our suitcases to the airport train about two blocks away.

At this point, I thought I had enough yarn. (oh, and banging out a sweater is a thing in knitting circles LOL)

I had a brainiac idea that I should check with my LYS to see if they actually carried the yarn, Berroco Ultra Wool, and yup, they did (egg on face). Would you believe that the yarn I got here at my LYS was the same dye lot as the one I ordered from a shop one state away! But the dye lot wasn’t critical because I was combining it with a strand of mohair type yarn, Berroco Aerial Color. I finished the sweater two days before the other yarn arrived. I guess the joke is on me! I’ll use the excess yarn to knit some hats or something. Here’s the finished cardigan:

It’s cropped, neutral yet slightly variegated and it was oh, so warm for when we traveled back to the cold humidity of the Midwest. Is Kansas City considered the Midwest? Not sure…

I wore it everywhere!

Have you ever banged out a sweater? Suggestion: use big needles!

My Knitting Life

Fast and Easy Blocking

I need to finish this project in a hurry, but it is in serious need of blocking. Here’s a trick I do whenever I don’t want to plunge my project pieces into water and wait 36 hours for them to dry.

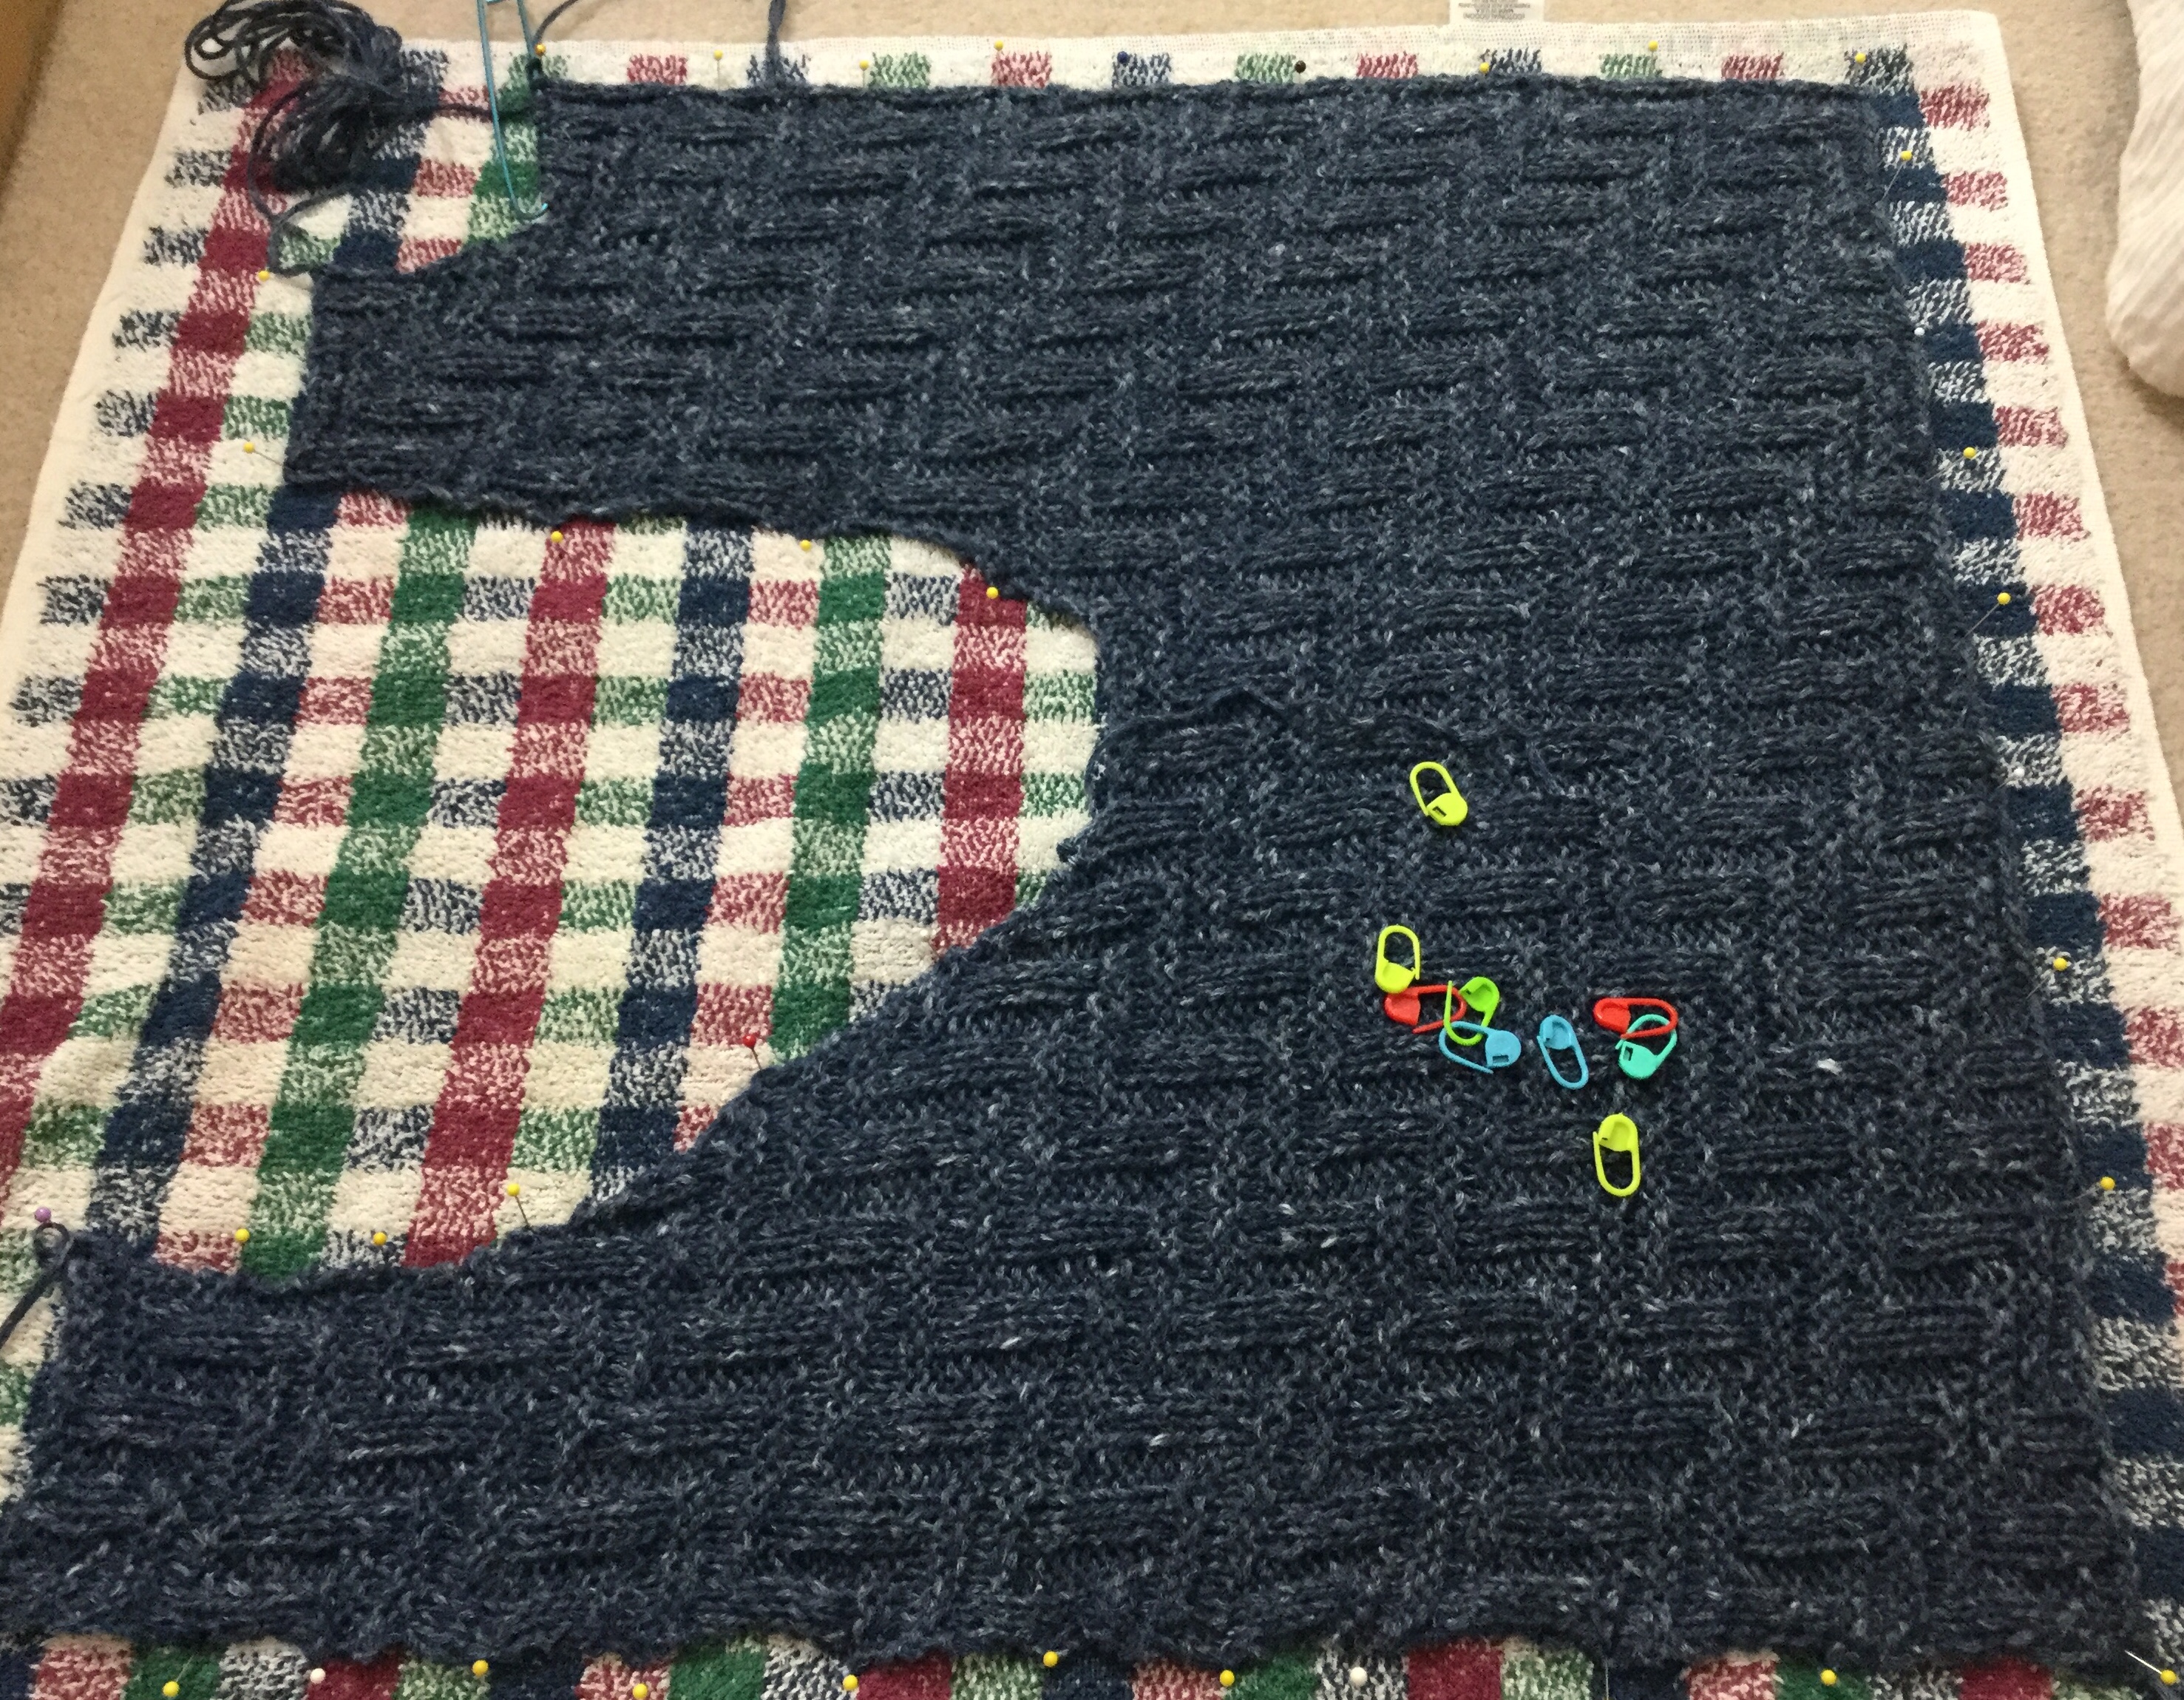
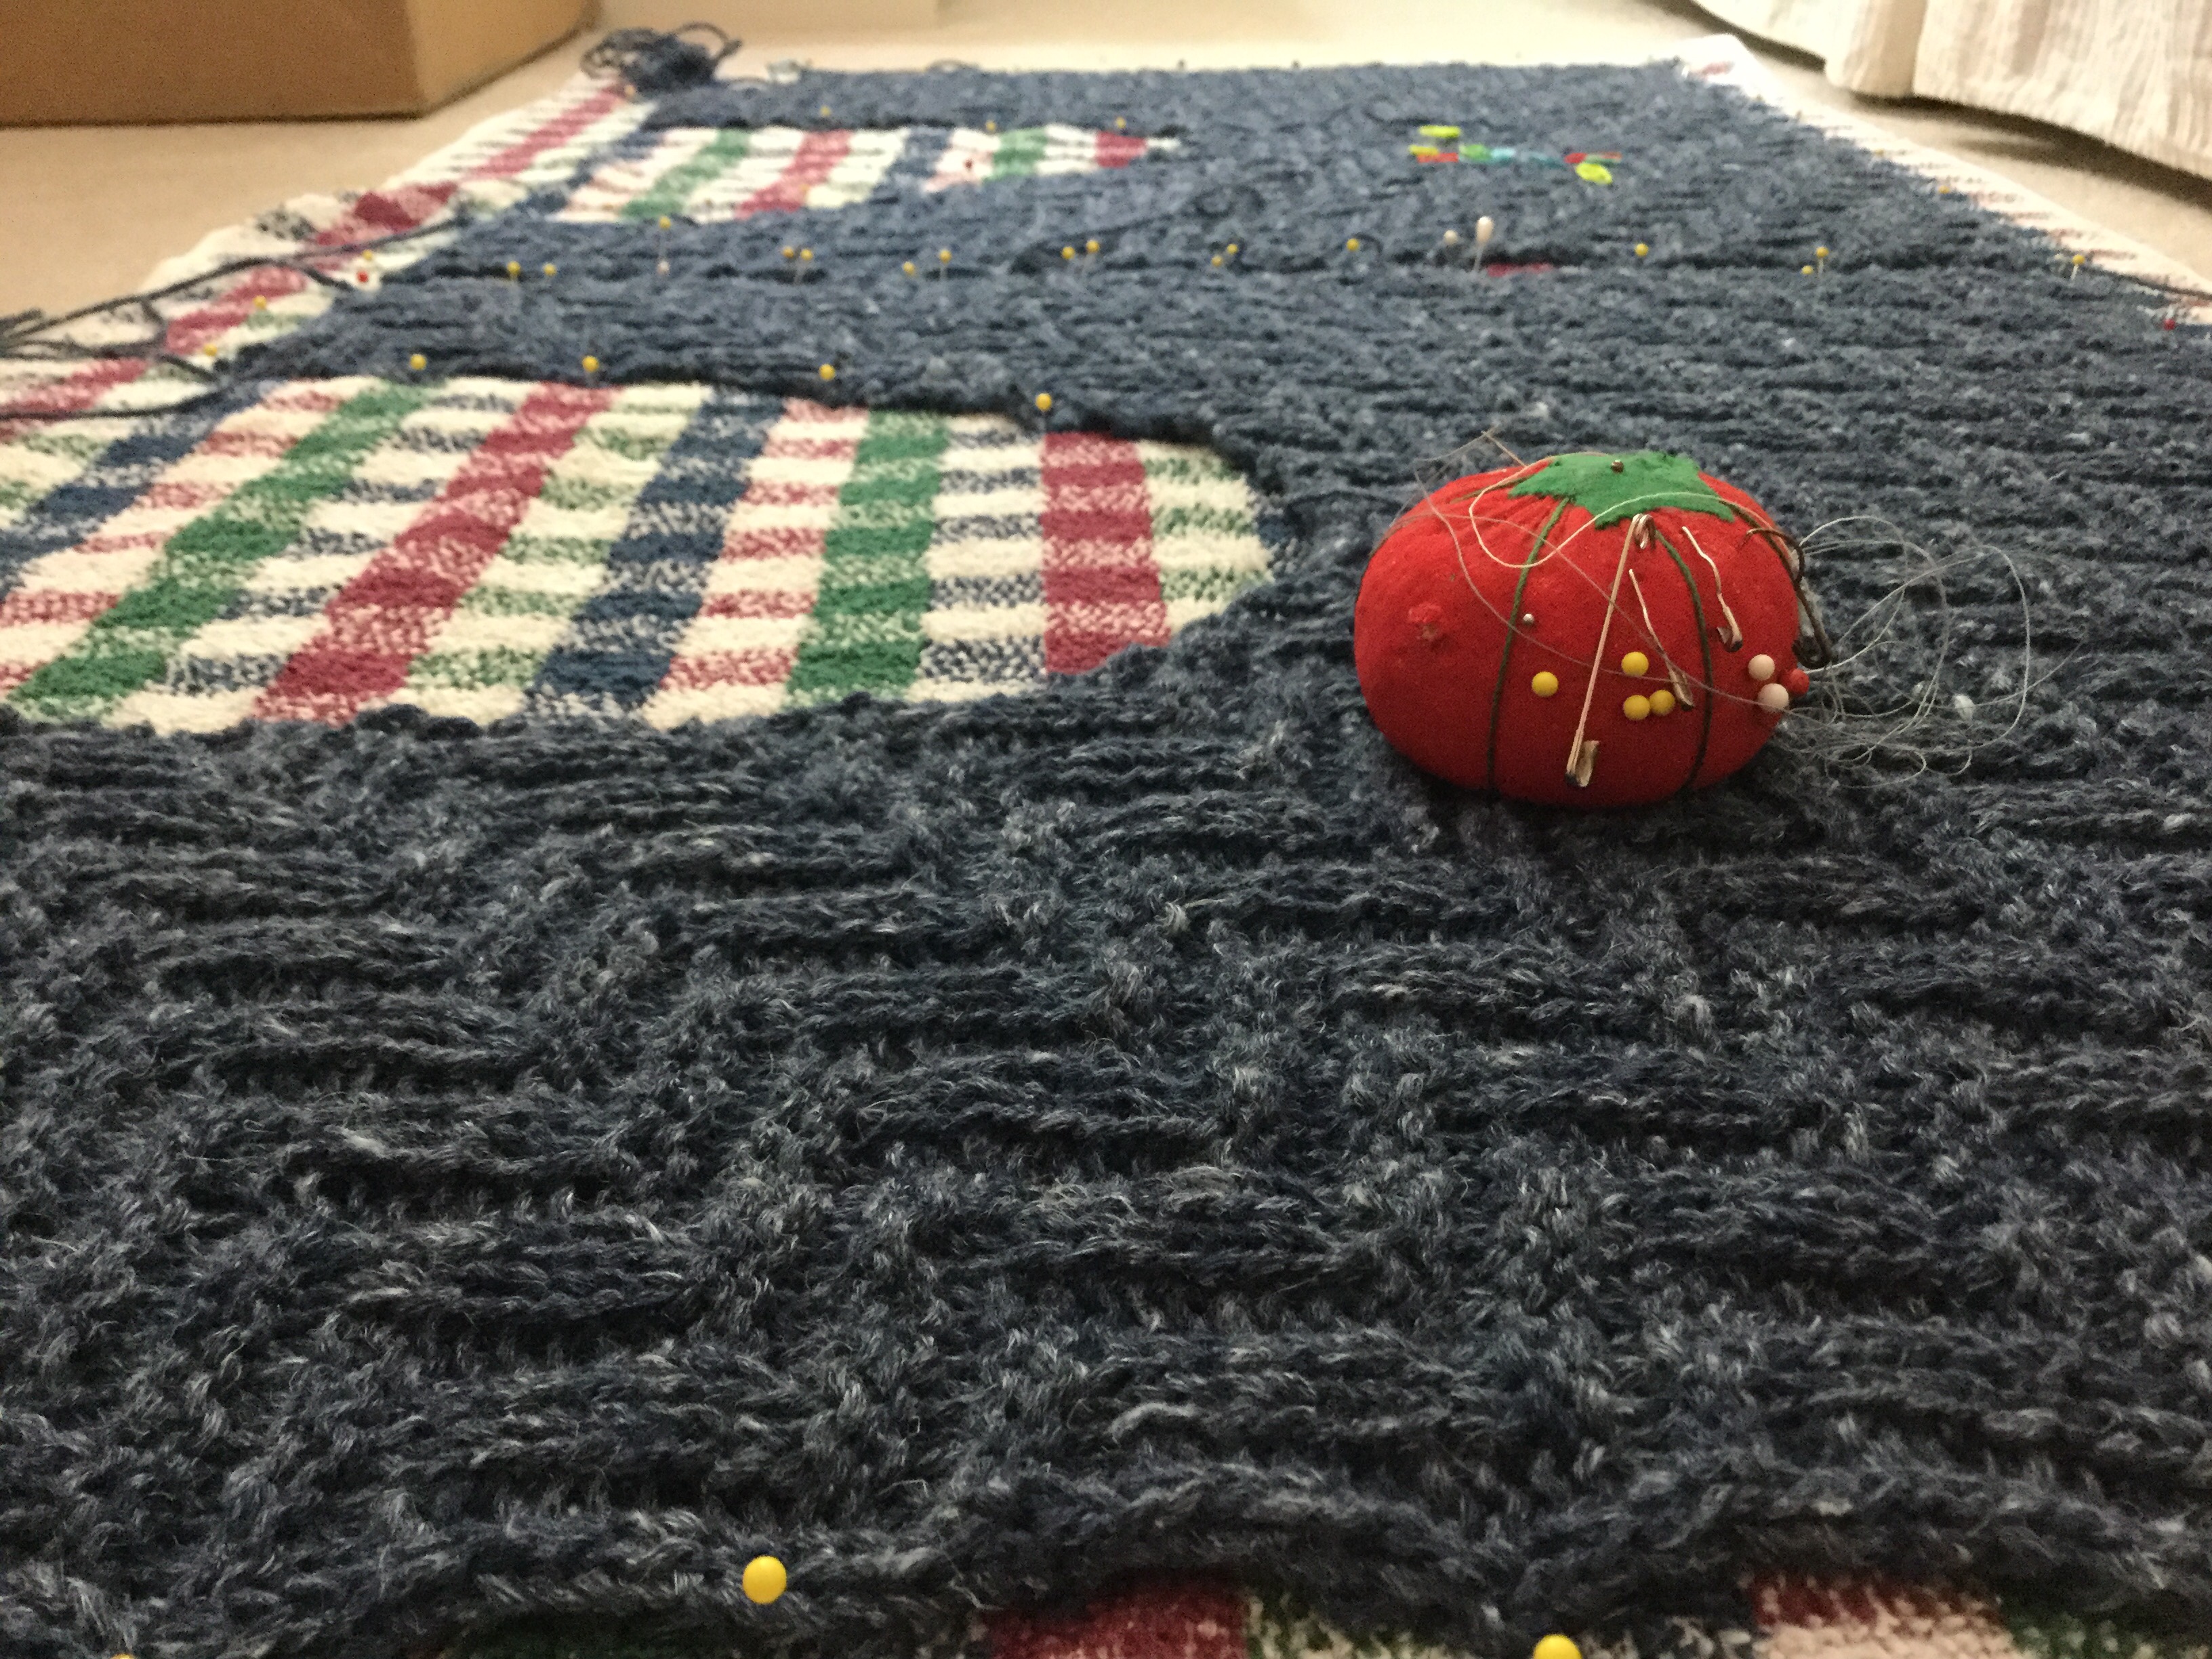
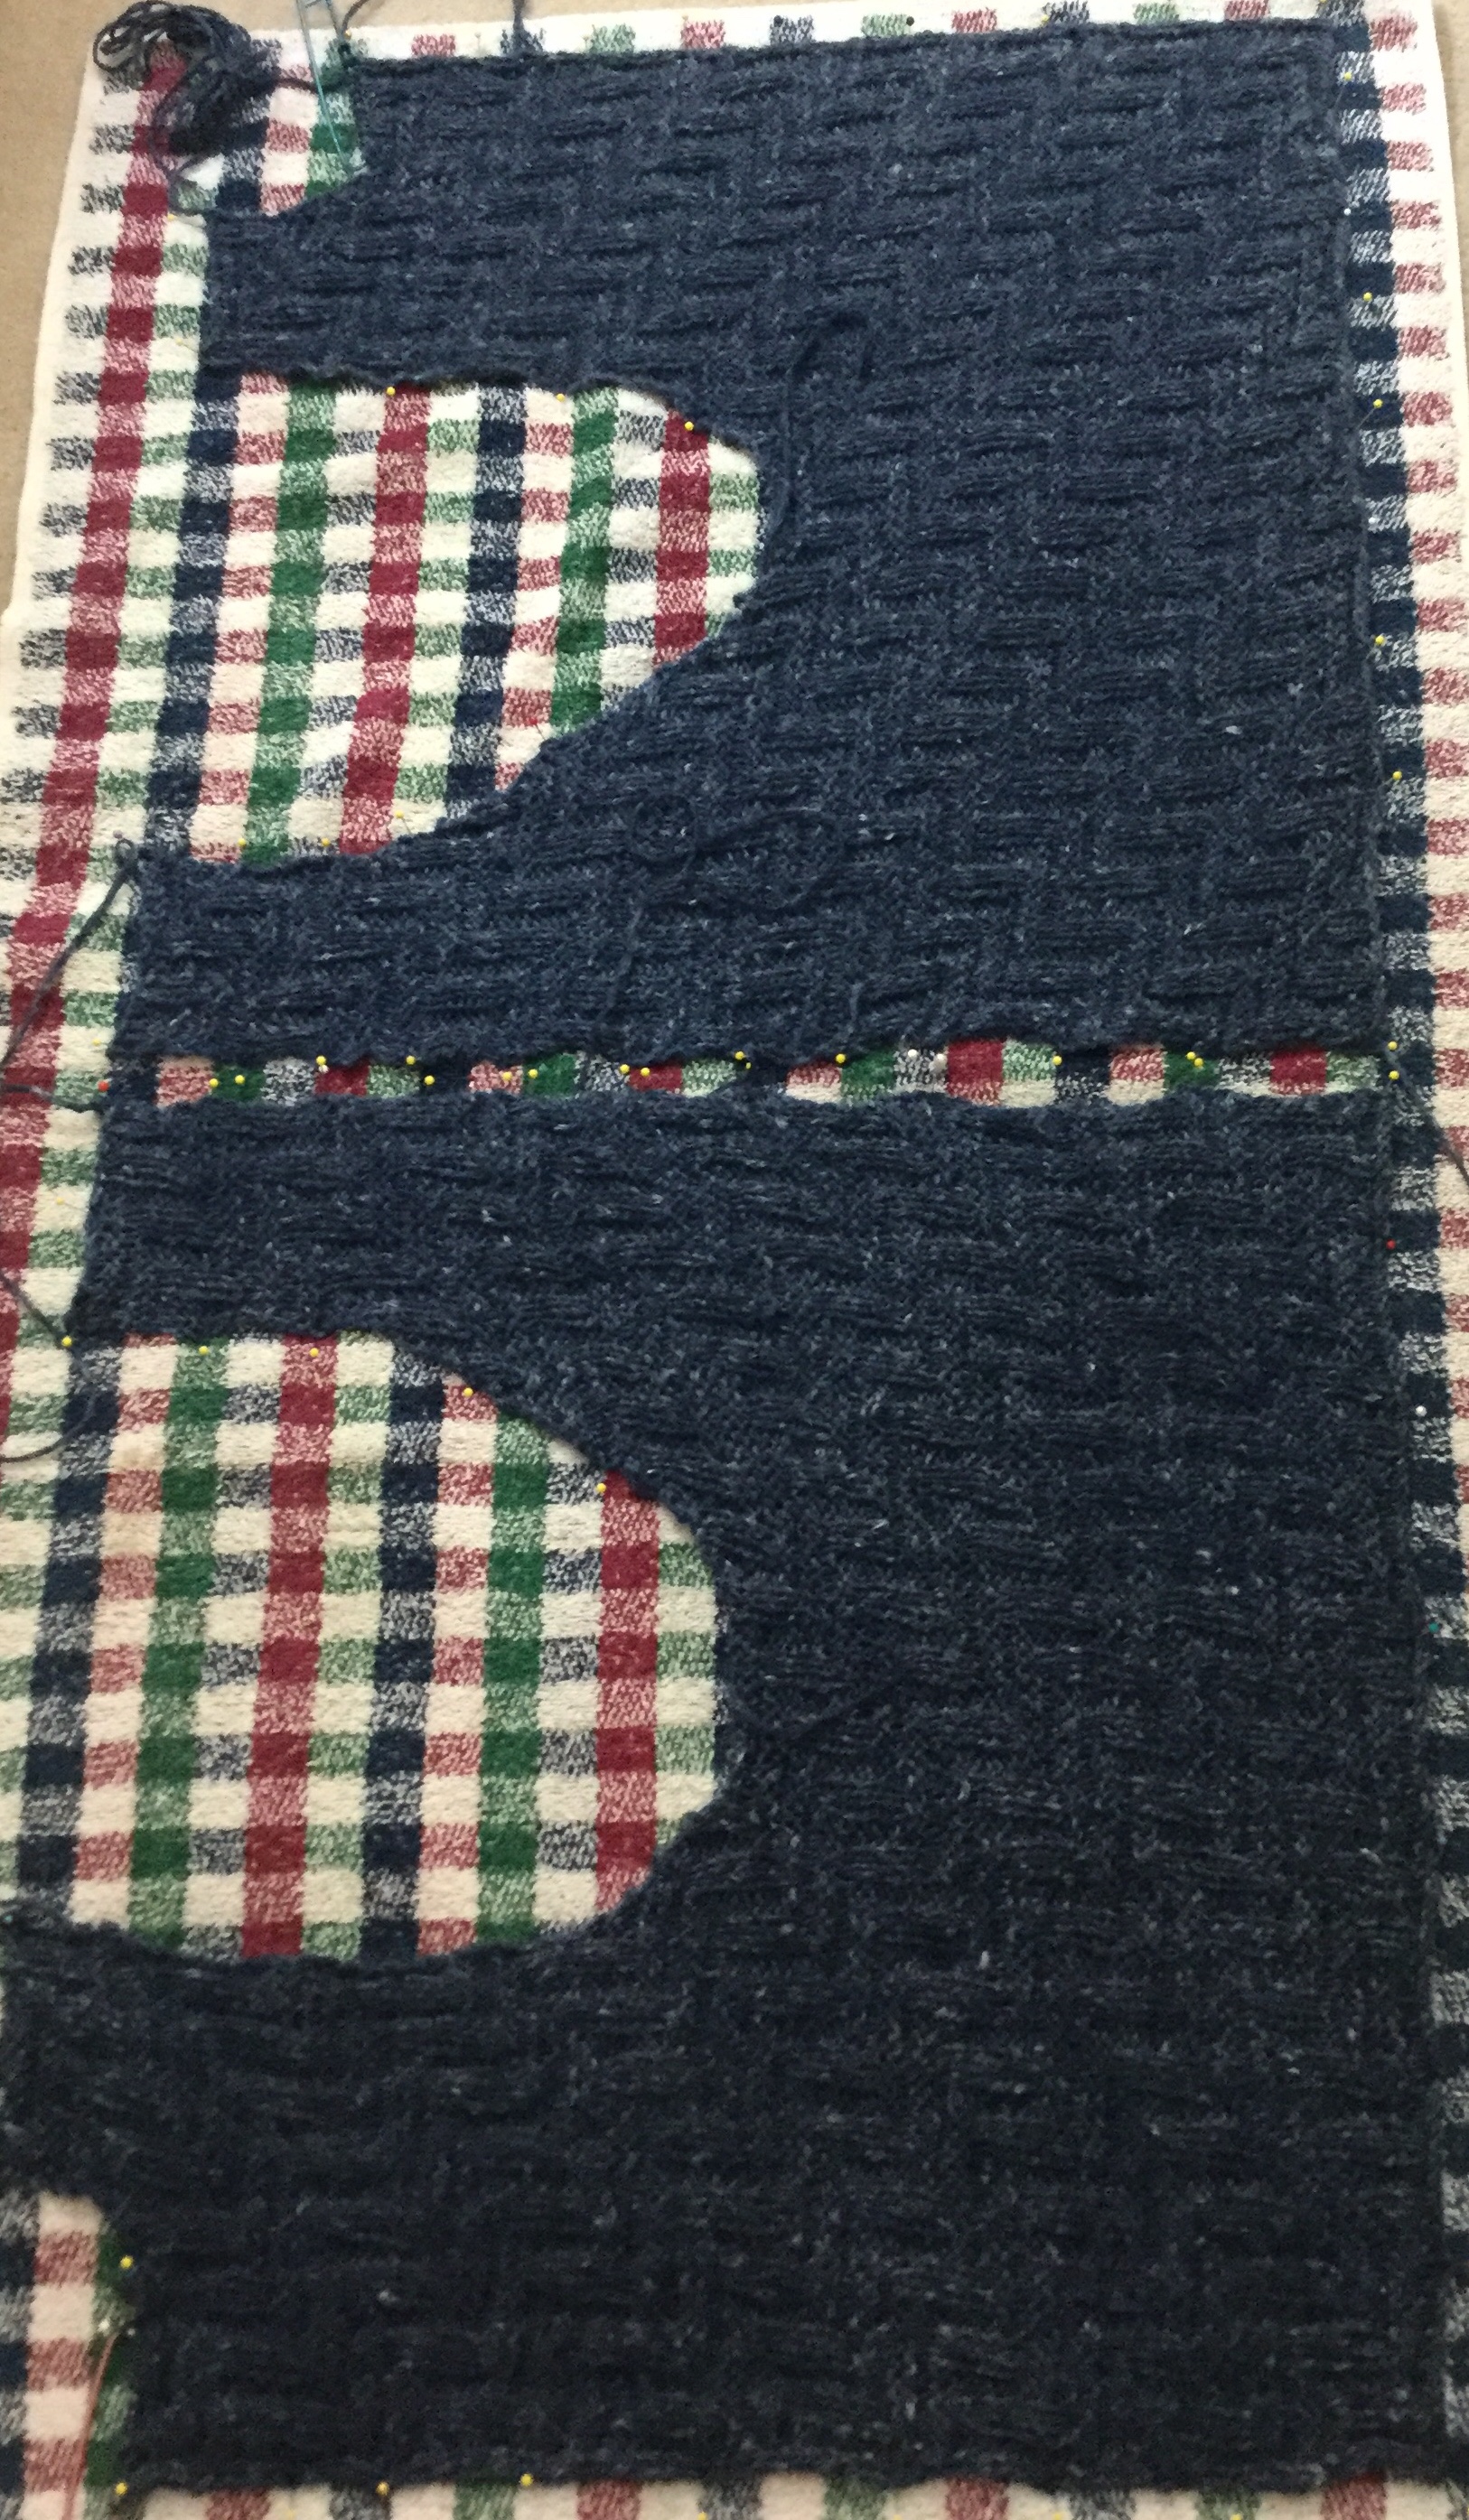
Put a towel (or two) on the floor, smooth it out, and then pin your pieces out to the dimensions listed in the pattern. Pin, pin, pin. (I was seriously hoping the squares on the towel were 1″ square, but that would have been too easy!)

Take a spray bottle and mist the pieces to your satisfaction. It’s not necessary to soak them, but they should be something between slightly wet and fairly wet. (Sorry, describing degrees of wetness is not my forte!)

I pinned and misted these around 4:30pm this afternoon, and hope to be able to sew the seams and do the finishing starting tonight or early tomorrow morning. What pattern is this, you ask? It’s Lexie (link takes you to Ravelry) by Elsebeth Lavold. If you like this yarn, you can buy it here: Quixotic Fiber You need 3 or 4 skeins depending on the size. I’m sure this LYS would appreciate your business!

Free Knitting Patterns · Hello World! · My Knitting Life

Diamondweave Hat

20160205_172929

Not tight enough to be a beanie, yet not loose enough to be a slouch, Diamondweave Hat delivers highly textured diamonds that float over background purl stitches. As you know, “textured” means you’ll be moving a lot of stitches around, so be prepared. But the payoff is a beautifully patterned hat that has depth and drama.

Click on the link below for the free pattern pdf. Enjoy!

diamondweave-hat-4-2023-1.pdf

Free Knitting Patterns · Technology Patterns

Nano Nano Pocket

IMG_2903 (2)

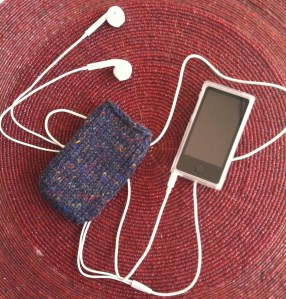
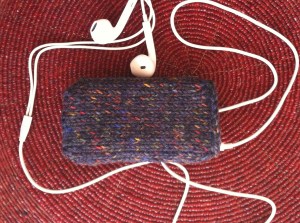
I recently bought an iPod Nano to take some tunes with me wherever I go. Wanting to protect my investment, I quickly made a little pocket for it to slip into. My 3rd graders loved it, and now I think I am going to start a knitting club at school for them.

MATERIALS:

One set of size 5 double point needles

Worsted weight yarn

Tapestry Needle

Gauge: 6 stitches per inch; row gauge is not important

Pattern

Using the magic cast on (you can see a youtube video to help you), cast on 24 stitches. Put 12 stitches on one needle (“Needle 1”), and put 6 stitches each on two more needles (“Needles 2 and 3”).

Round 1: Knit (it”ll be tight, but be patient!)

Round 2: Increase 1 stitch at beginning and end of Needle 1. Increase at beginning of Needle 2, and again at the end of Needle 3.(28 total stitches)

Round 3: Knit

Round 4: Repeat Row 2 (total 32 stitches)

BODY OF POCKET:

Continue knitting in the round until about 1/4″ of your iPod is sticking out, checking to see if your iPod fits.

Decrease Row: Decrease one stitch at the beginning and end of Needle 1. Decrease at the beginning of Needle 2 and again at Needle 2. This decrease row should help your Nano stay in its pocket.

Bind off loosely and weave in the loose ends.

ENJOY!

IMG_2905 (2)
Technology Patterns

Free iPhone 4 Cover Knitting Pattern

iphone 1

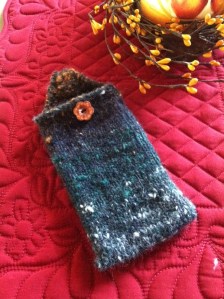
I went to the cell phone store “just to look” at iPhones and walked out with one–haha, the joke’s on me! And of course the geek guys tried to sell me cases, skins, covers, etc.  They tried to scare me by talking incessantly about how easily iPhone screens break, but I held out and only spent $15 on an iPhone cover. But because of that, my big fear is dropping this thing! So I decided to knit a little case to at least cushion a fall. Here’s what I did:

iphone 2

Materials

Size 4 (US) Double Pointed Needles and some worsted weight yarn (I used Noro Silver Thaw), tapestry needle, button, thread, and scissors.

Pattern Notes

iPhone case is knit from the bottom up with a rectangular flap, a buttonhole and button. You should be familiar with some knitting terms to complete this pattern.

Cast on

Cast on 36 stitches using Judy’s Magic Cast On.  Google it, and watch the YouTube video.

Body

Mark the beginning of the row and knit as a tube in the round stopping when the depth of the tube is one row taller than the iPhone itself. My case is 5.25″ tall.

Flap

Bind off first 18 stitches. Then work the remaining stitches back and forth in stockinette stitch (knit 1 row, purl 1 row) to make the flap as follows:  Row 1: K;  Rows 2, 4, 6, 8, and 10: P.

Row 3: Sl1, SSK, K12, K2tog, K1

Row 5: Sl1, SSK, K10, K2tog, K1l

Row 7: Sl1, SSK, K8, K2tog, K1

Row 9: Sl1, SSK, K6, K2tog, K1

Row 11: Sl1, SSK, K4, K2tog, K1

Make Buttonhole

Row 12: P 3, bind off 2, P3

Row 13: Sl1, SSK, cast on 2, K2tog, K1

Row 14: P all stitches

Row 15: Sl1, SSK, K2tog, K1

Row 16: Bind off all stitches.

Finishing

Tuck in all ends with tapestry needle and sew on cute button in appropriate place. Enjoy!

Knitting Patterns For Sale · My Knitting Life

Dorothy and Tara Hat

Image

Oh to float across the ice like skaters from the past! I love ice skating. I grew up on a lake where the neighbor kids took turns shoveling in the evenings so the hockey rink would be free from snow. There’s nothing like invigorating cold to wake up the senses during the darker days of winter.  But staying comfortable is a must! Keep yourself warm at the ice skating rink with a modified tam hat with spiral cables from top to bottom.  Imagine doing figure eights and scratch spins in style!  Using just one skein (200 or so yards) of worsted weight yarn, you can whip this beret up in a few evenings.  Doesn’t every knitter have an odd skein of worsted lying around?  Pattern comes in two adult sizes (S/M, and L). You can purchase it in my Ravelry Store: Nancy Wilson designer

Image

And, I still ice skate occasionally, even though I’m not a kid anymore!