My Knitting Life · Non-Knitting Projects

Sewing and Knitting: A Happy Combo

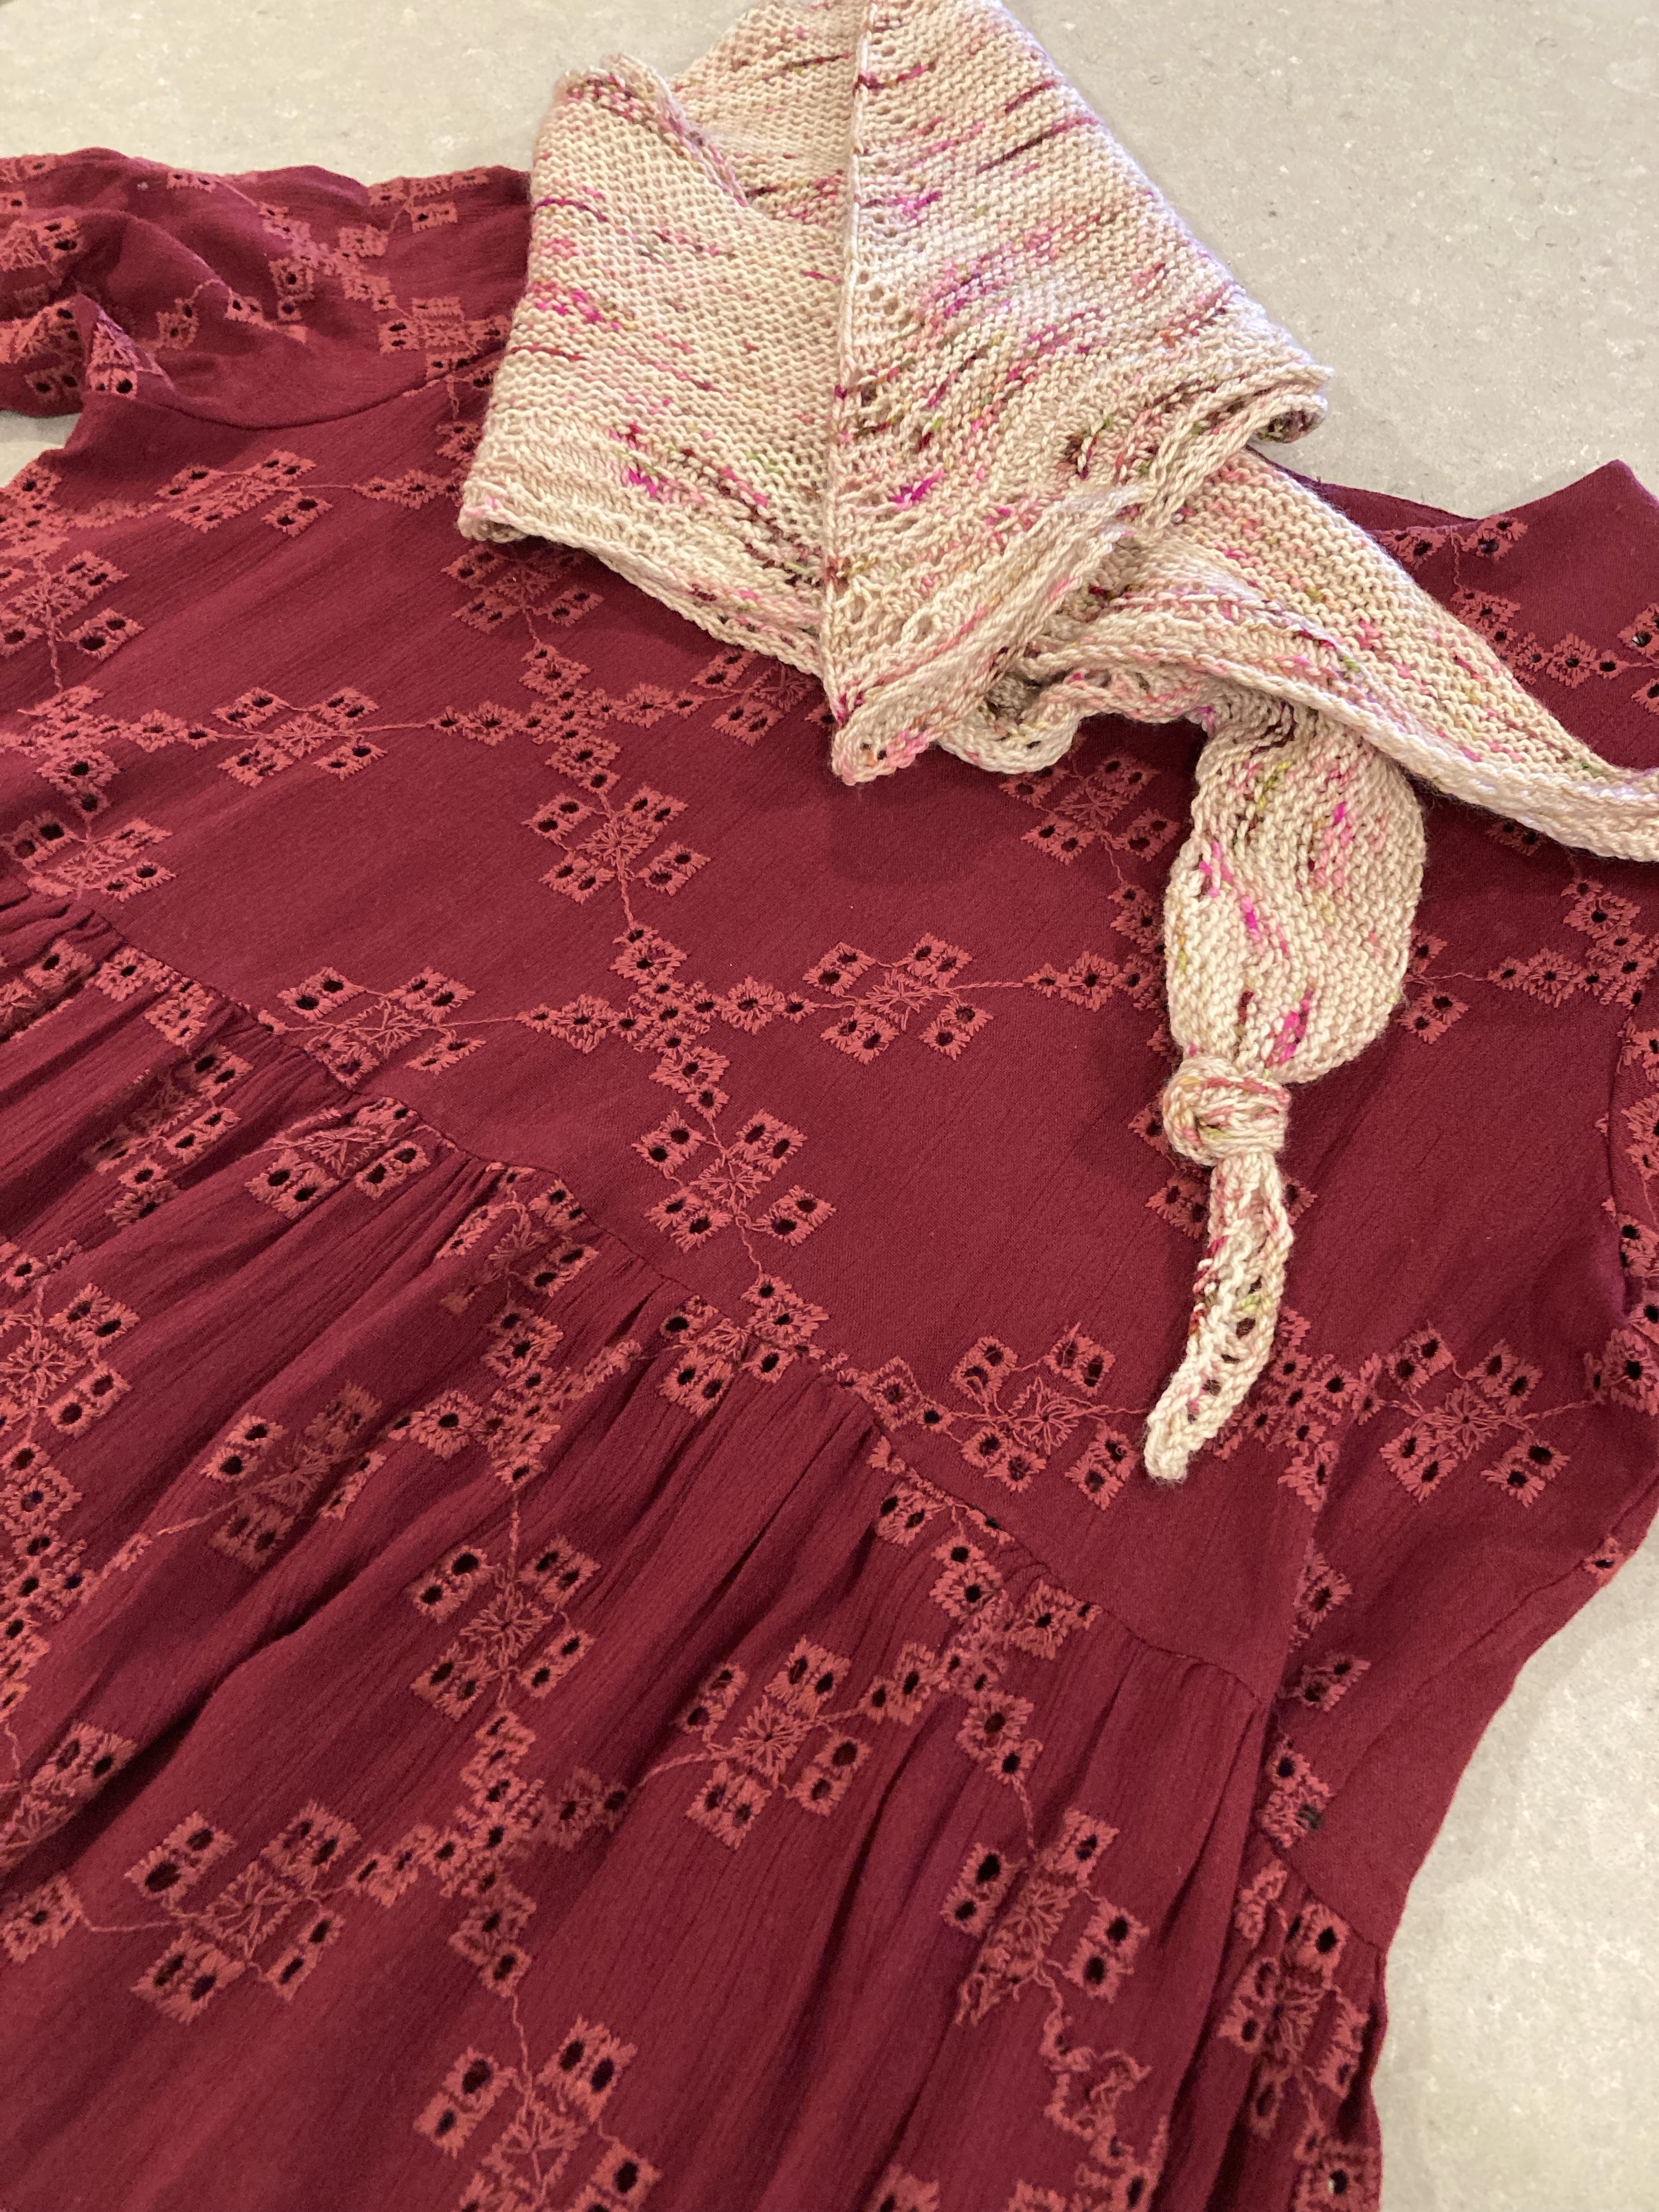
I wanted an eyelet-style dress, but not in white which seems to be the predominant color of eyelet, especially during the summer. So off I went on a fabric-hunting expedition, but with gas at $5.00/gallon, I only went virtually. I shopped online at Fashion Fabrics Club and bought an excellent burgundy eyelet, more geometric in design than floral. For the dress I used McCall’s M7948; at about $7.00/yard multiplied by 3.5 yards, I got a great deal! (It never ceases to amaze me how expensive Joann’s sub-par fabric is.)

About this fabric:

Thing 1: it’s dry clean only, but I’m confident that I can carefully wash it.

Thing 2: It frayed very easily as I was sewing it. It’s a good thing I’m an experienced seamstress!

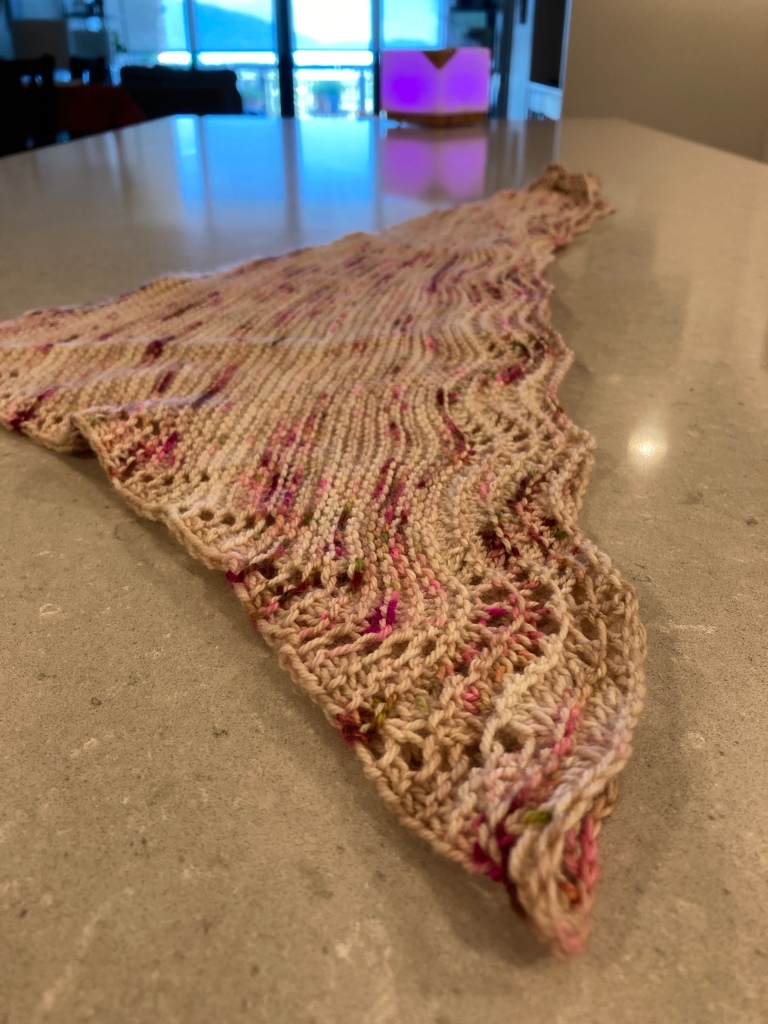
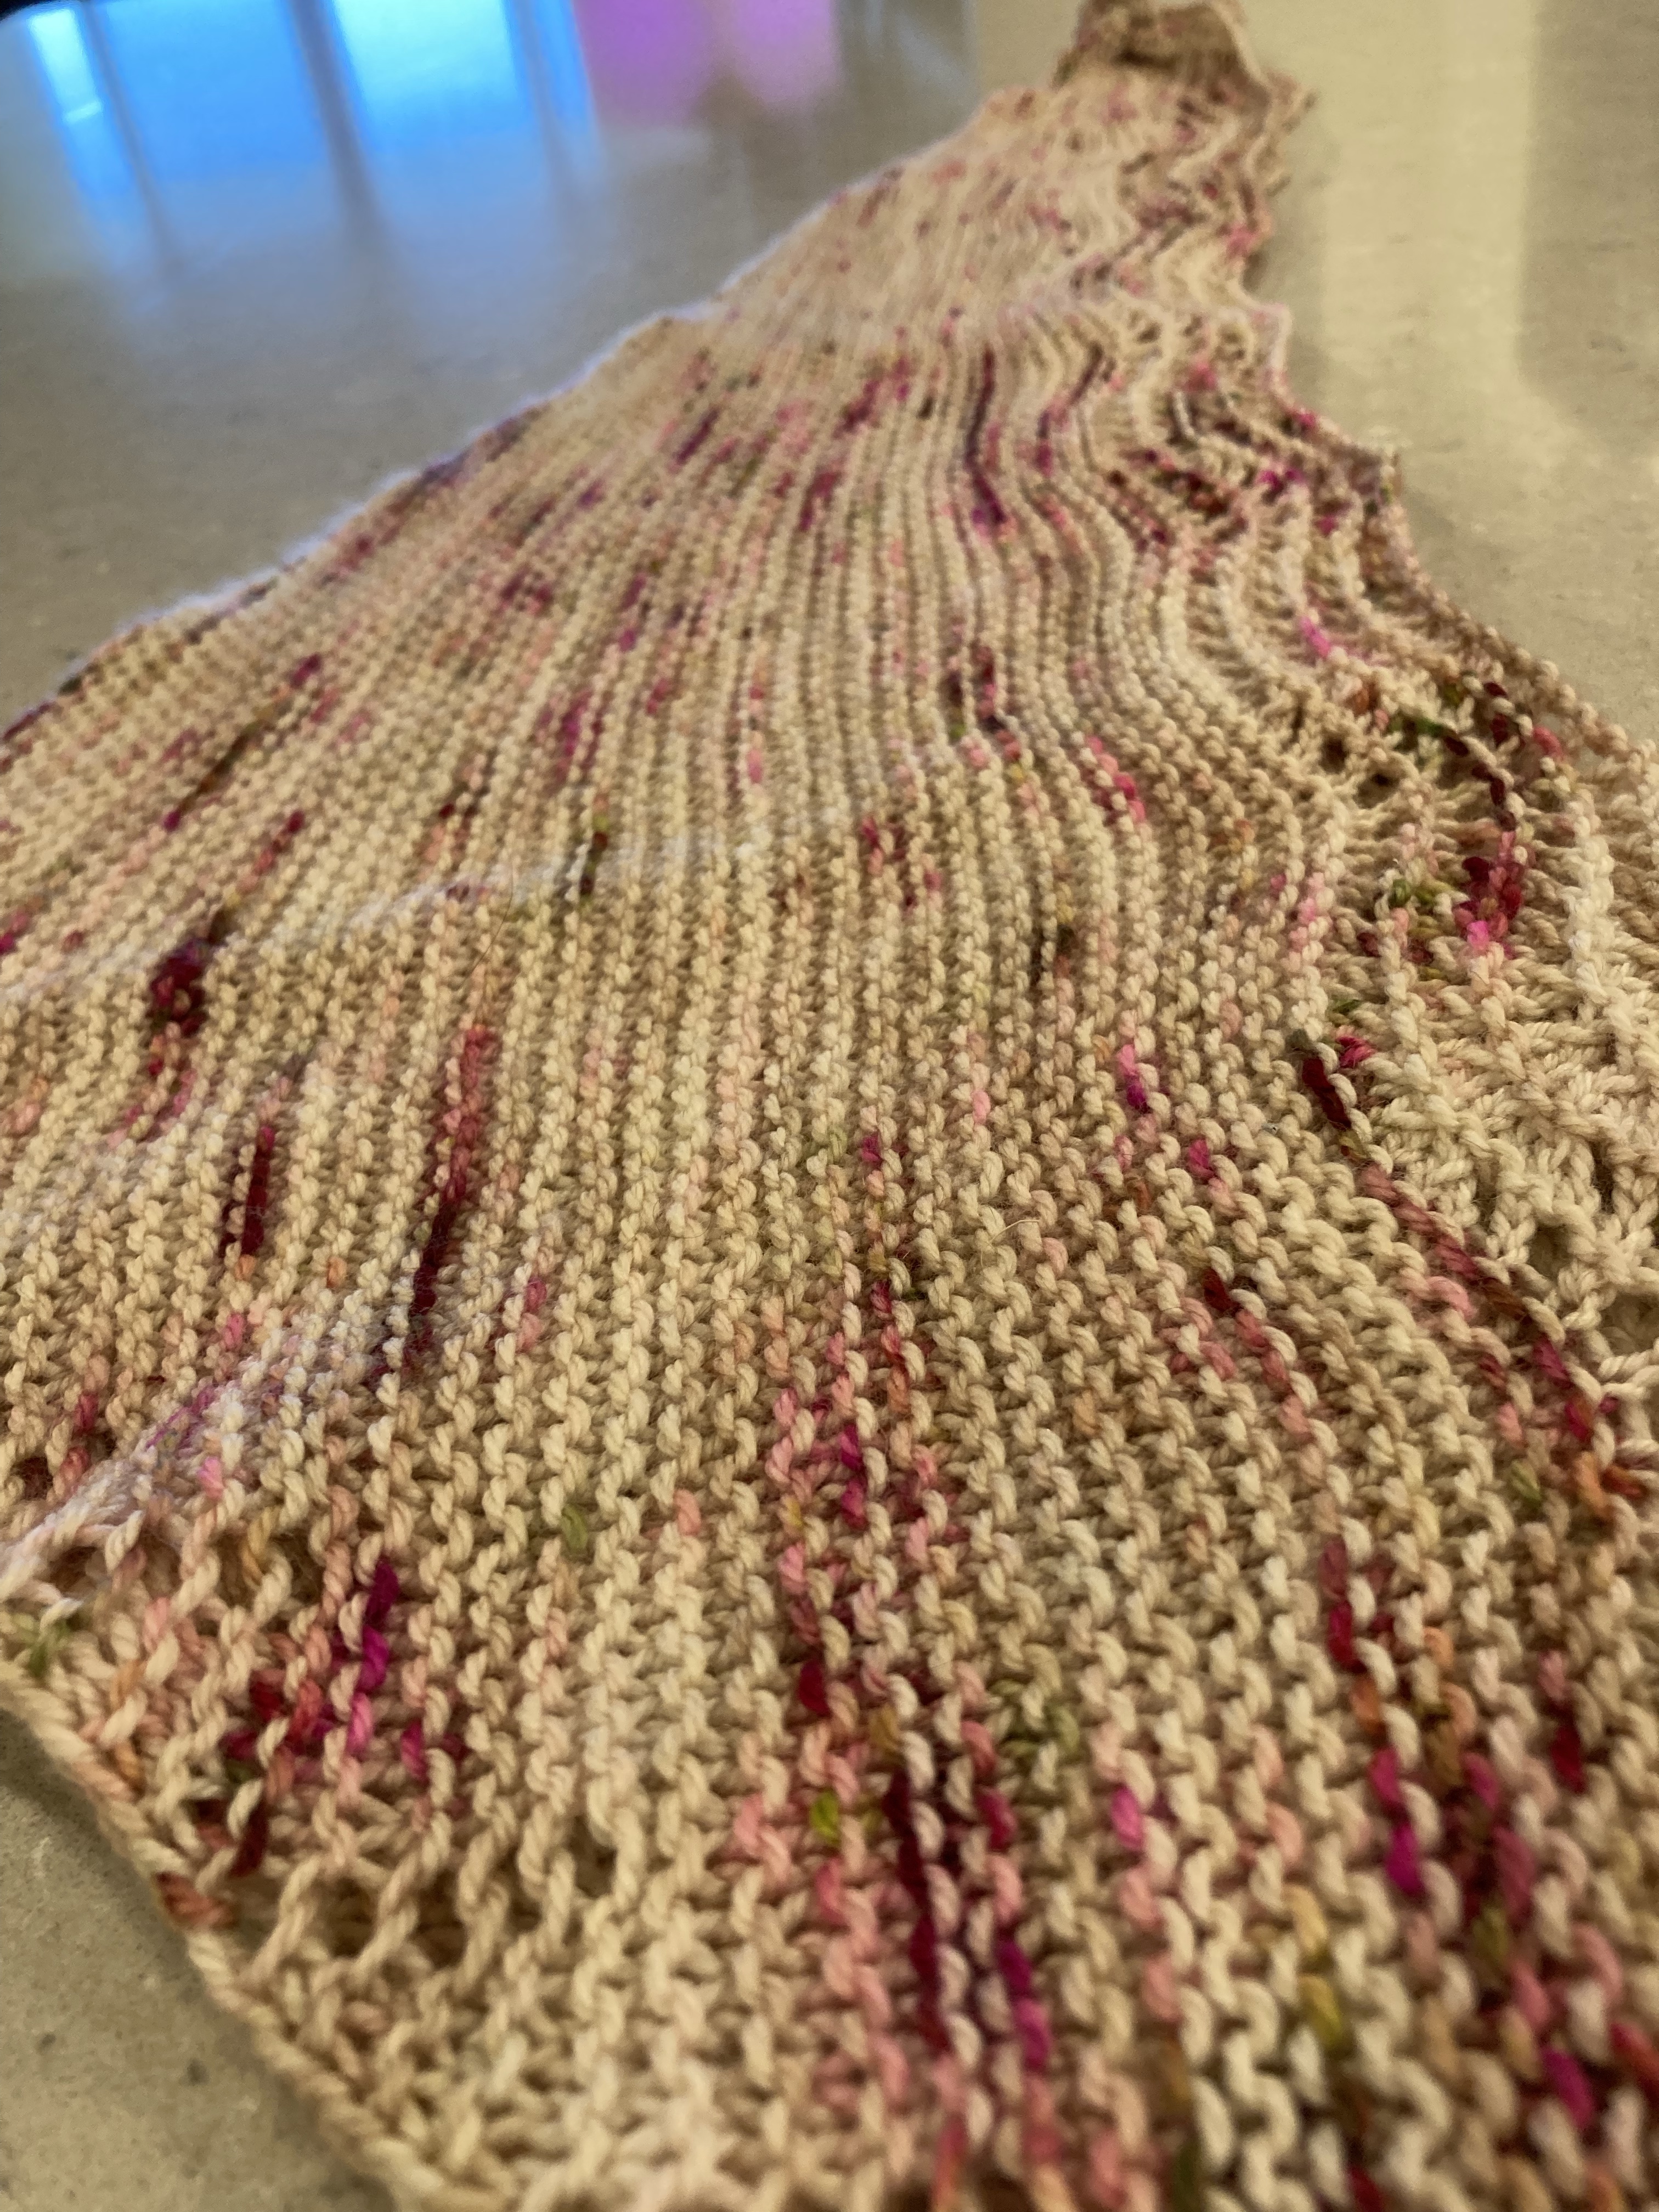
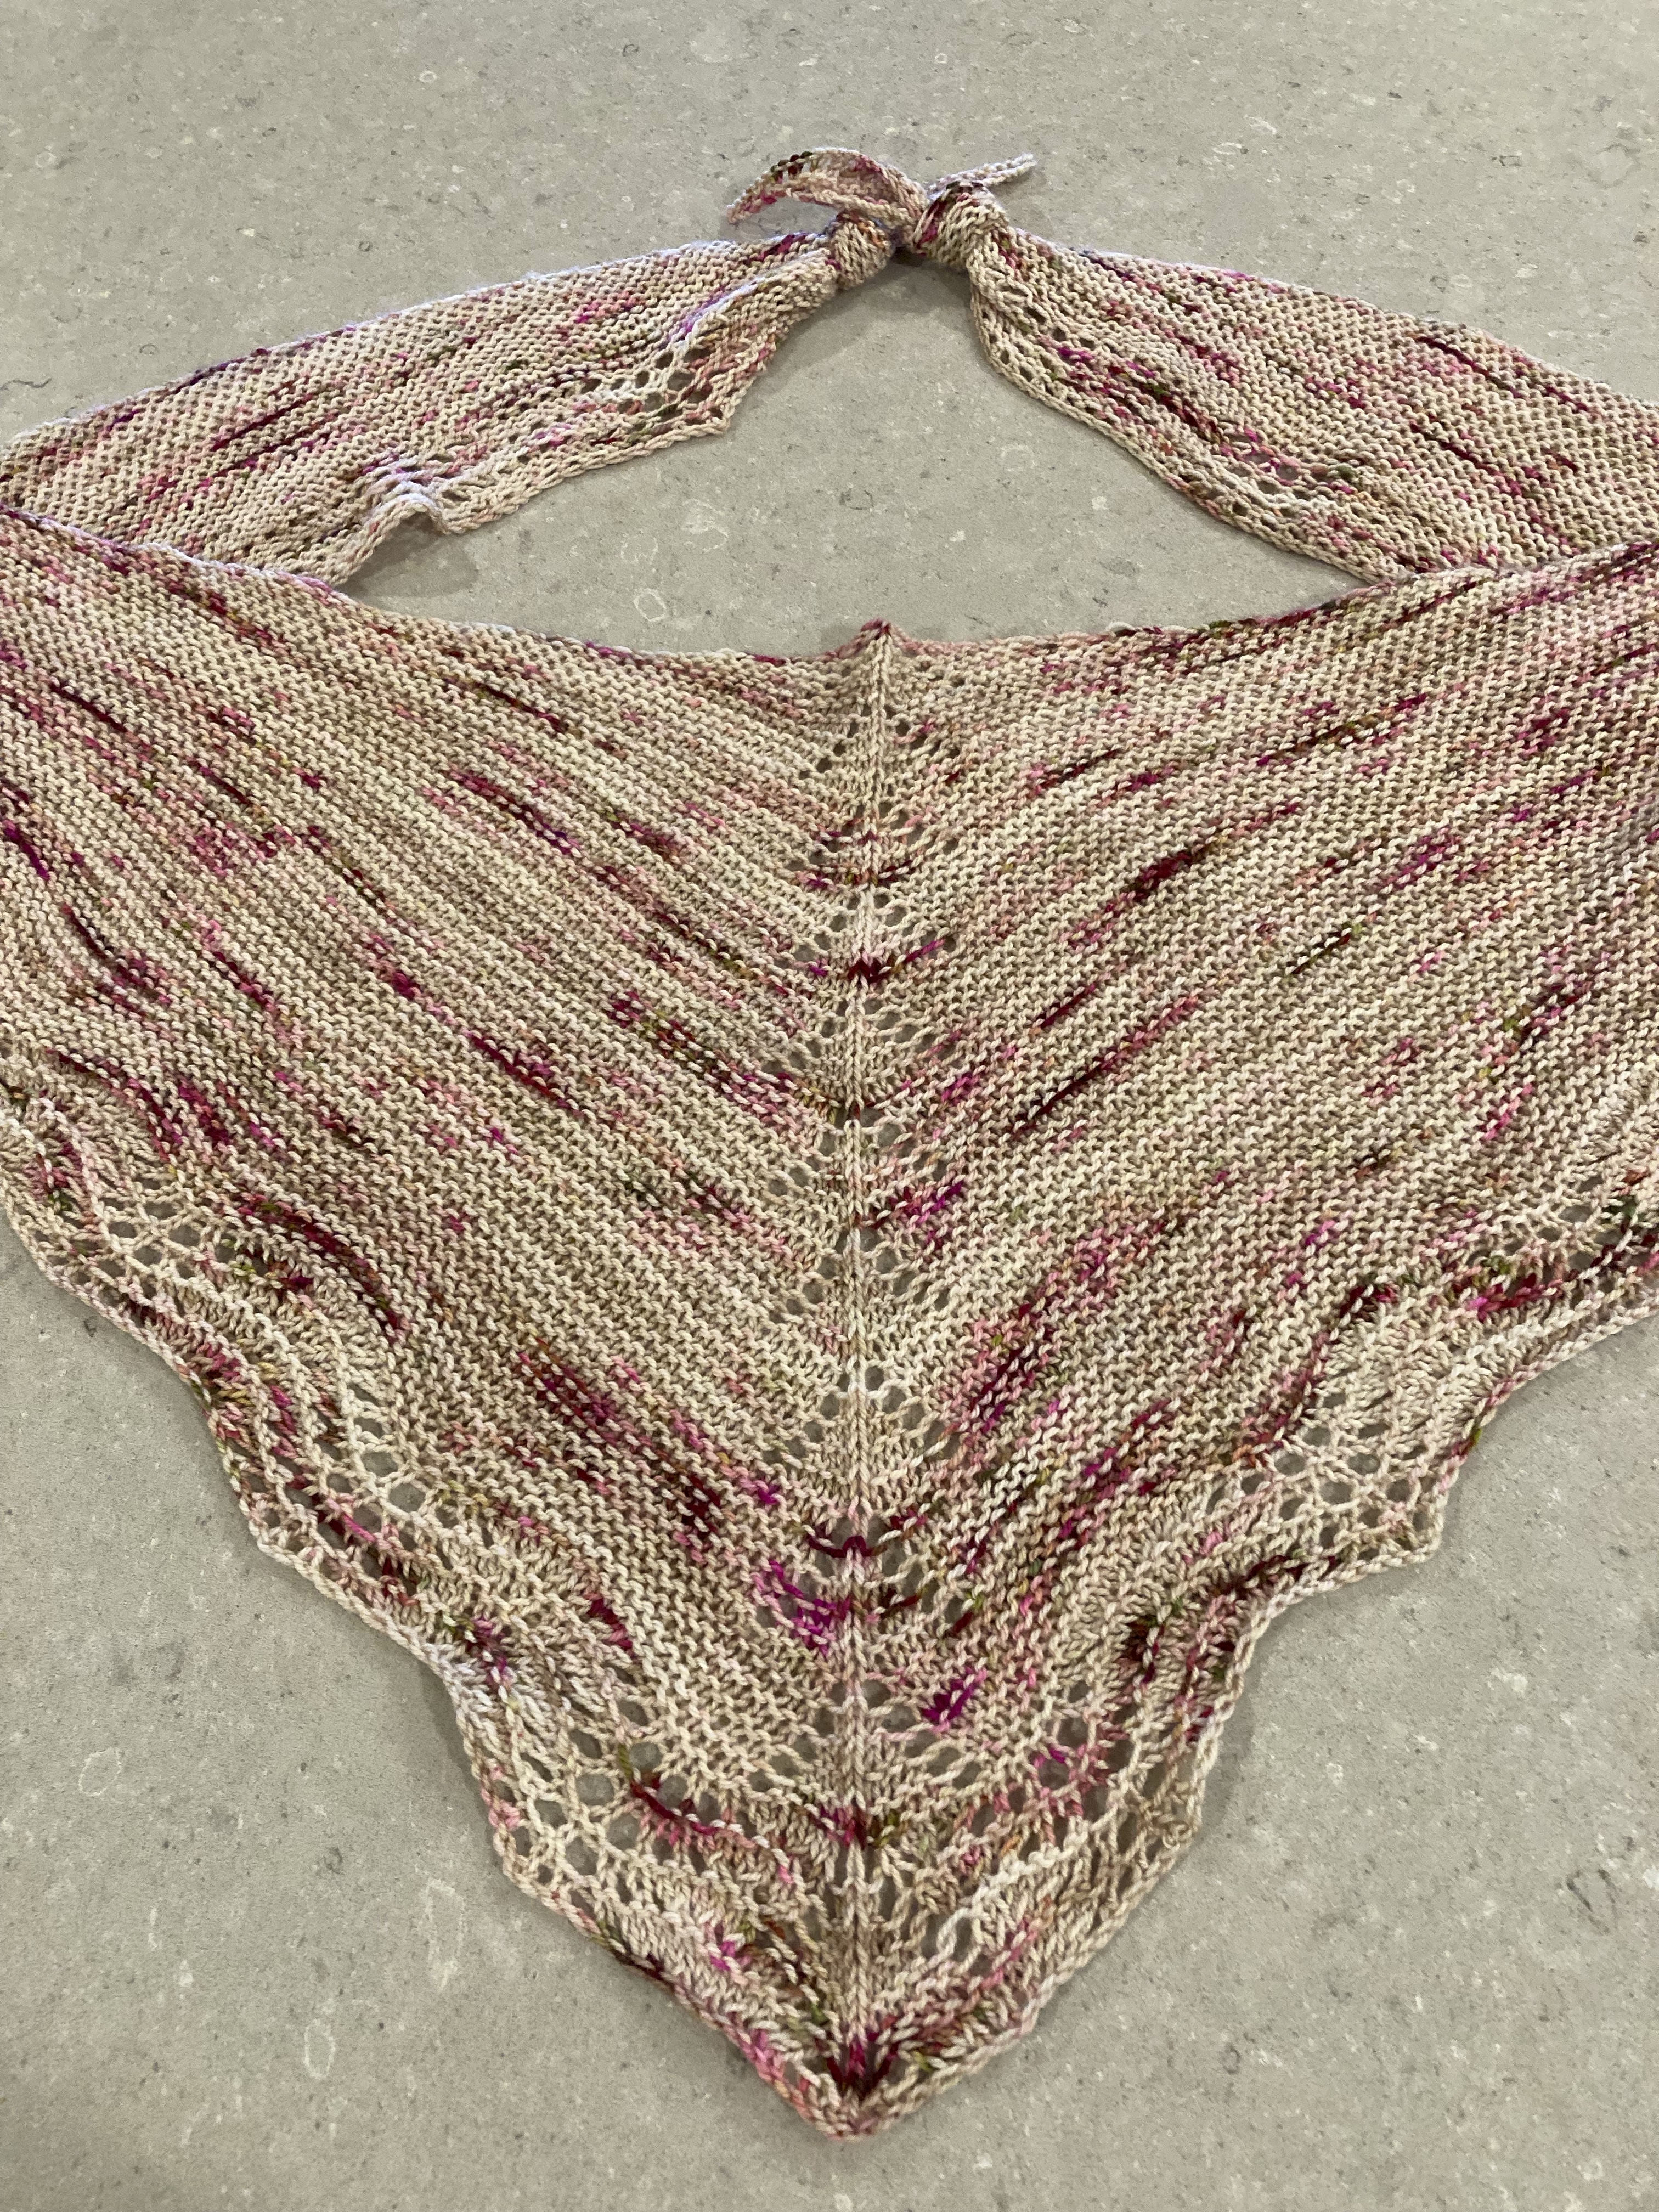
The fabric is lightweight, and the dress is billowy and comfortable. But because sometimes air conditioning in the summer is a little aggressive, I knit a simple shawl to go along with the dress. The shawl is the Souvenir Shawl by Maria Samuelsson on Ravelry. It’s a great pattern to use up a skein of yarn that just had to be purchased on vacation (better a skein of yarn than a t-shirt, right?)

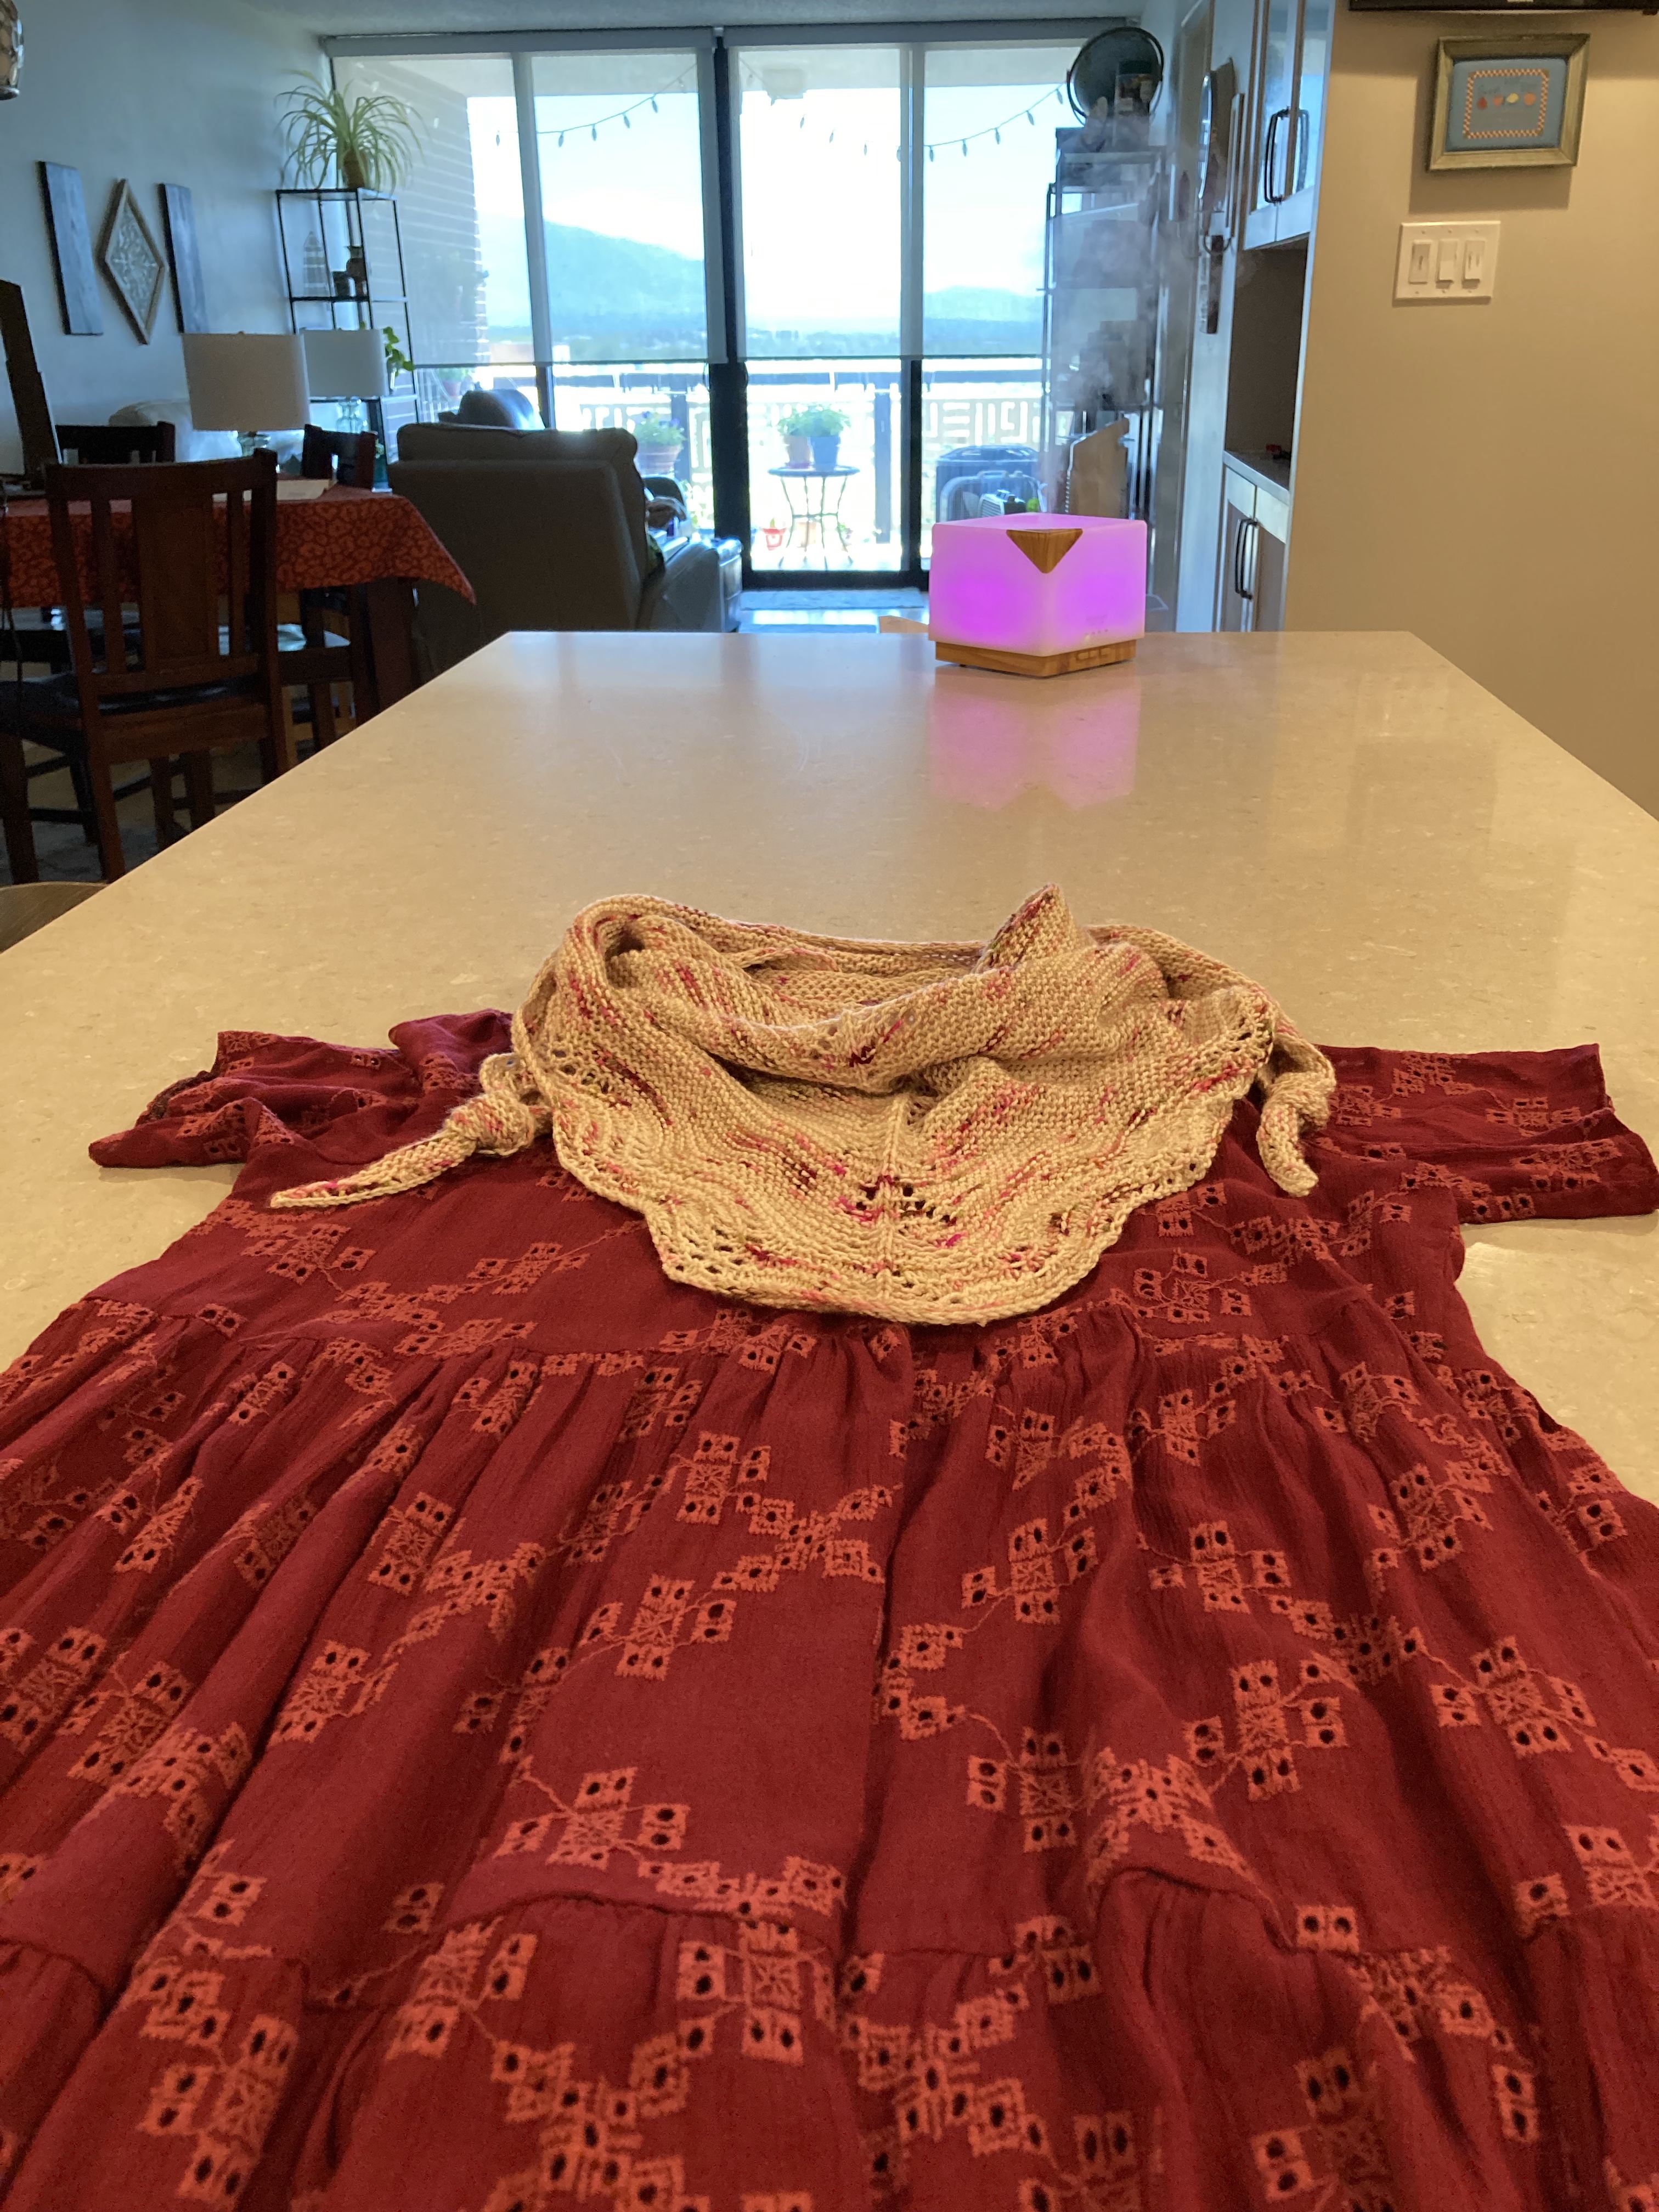
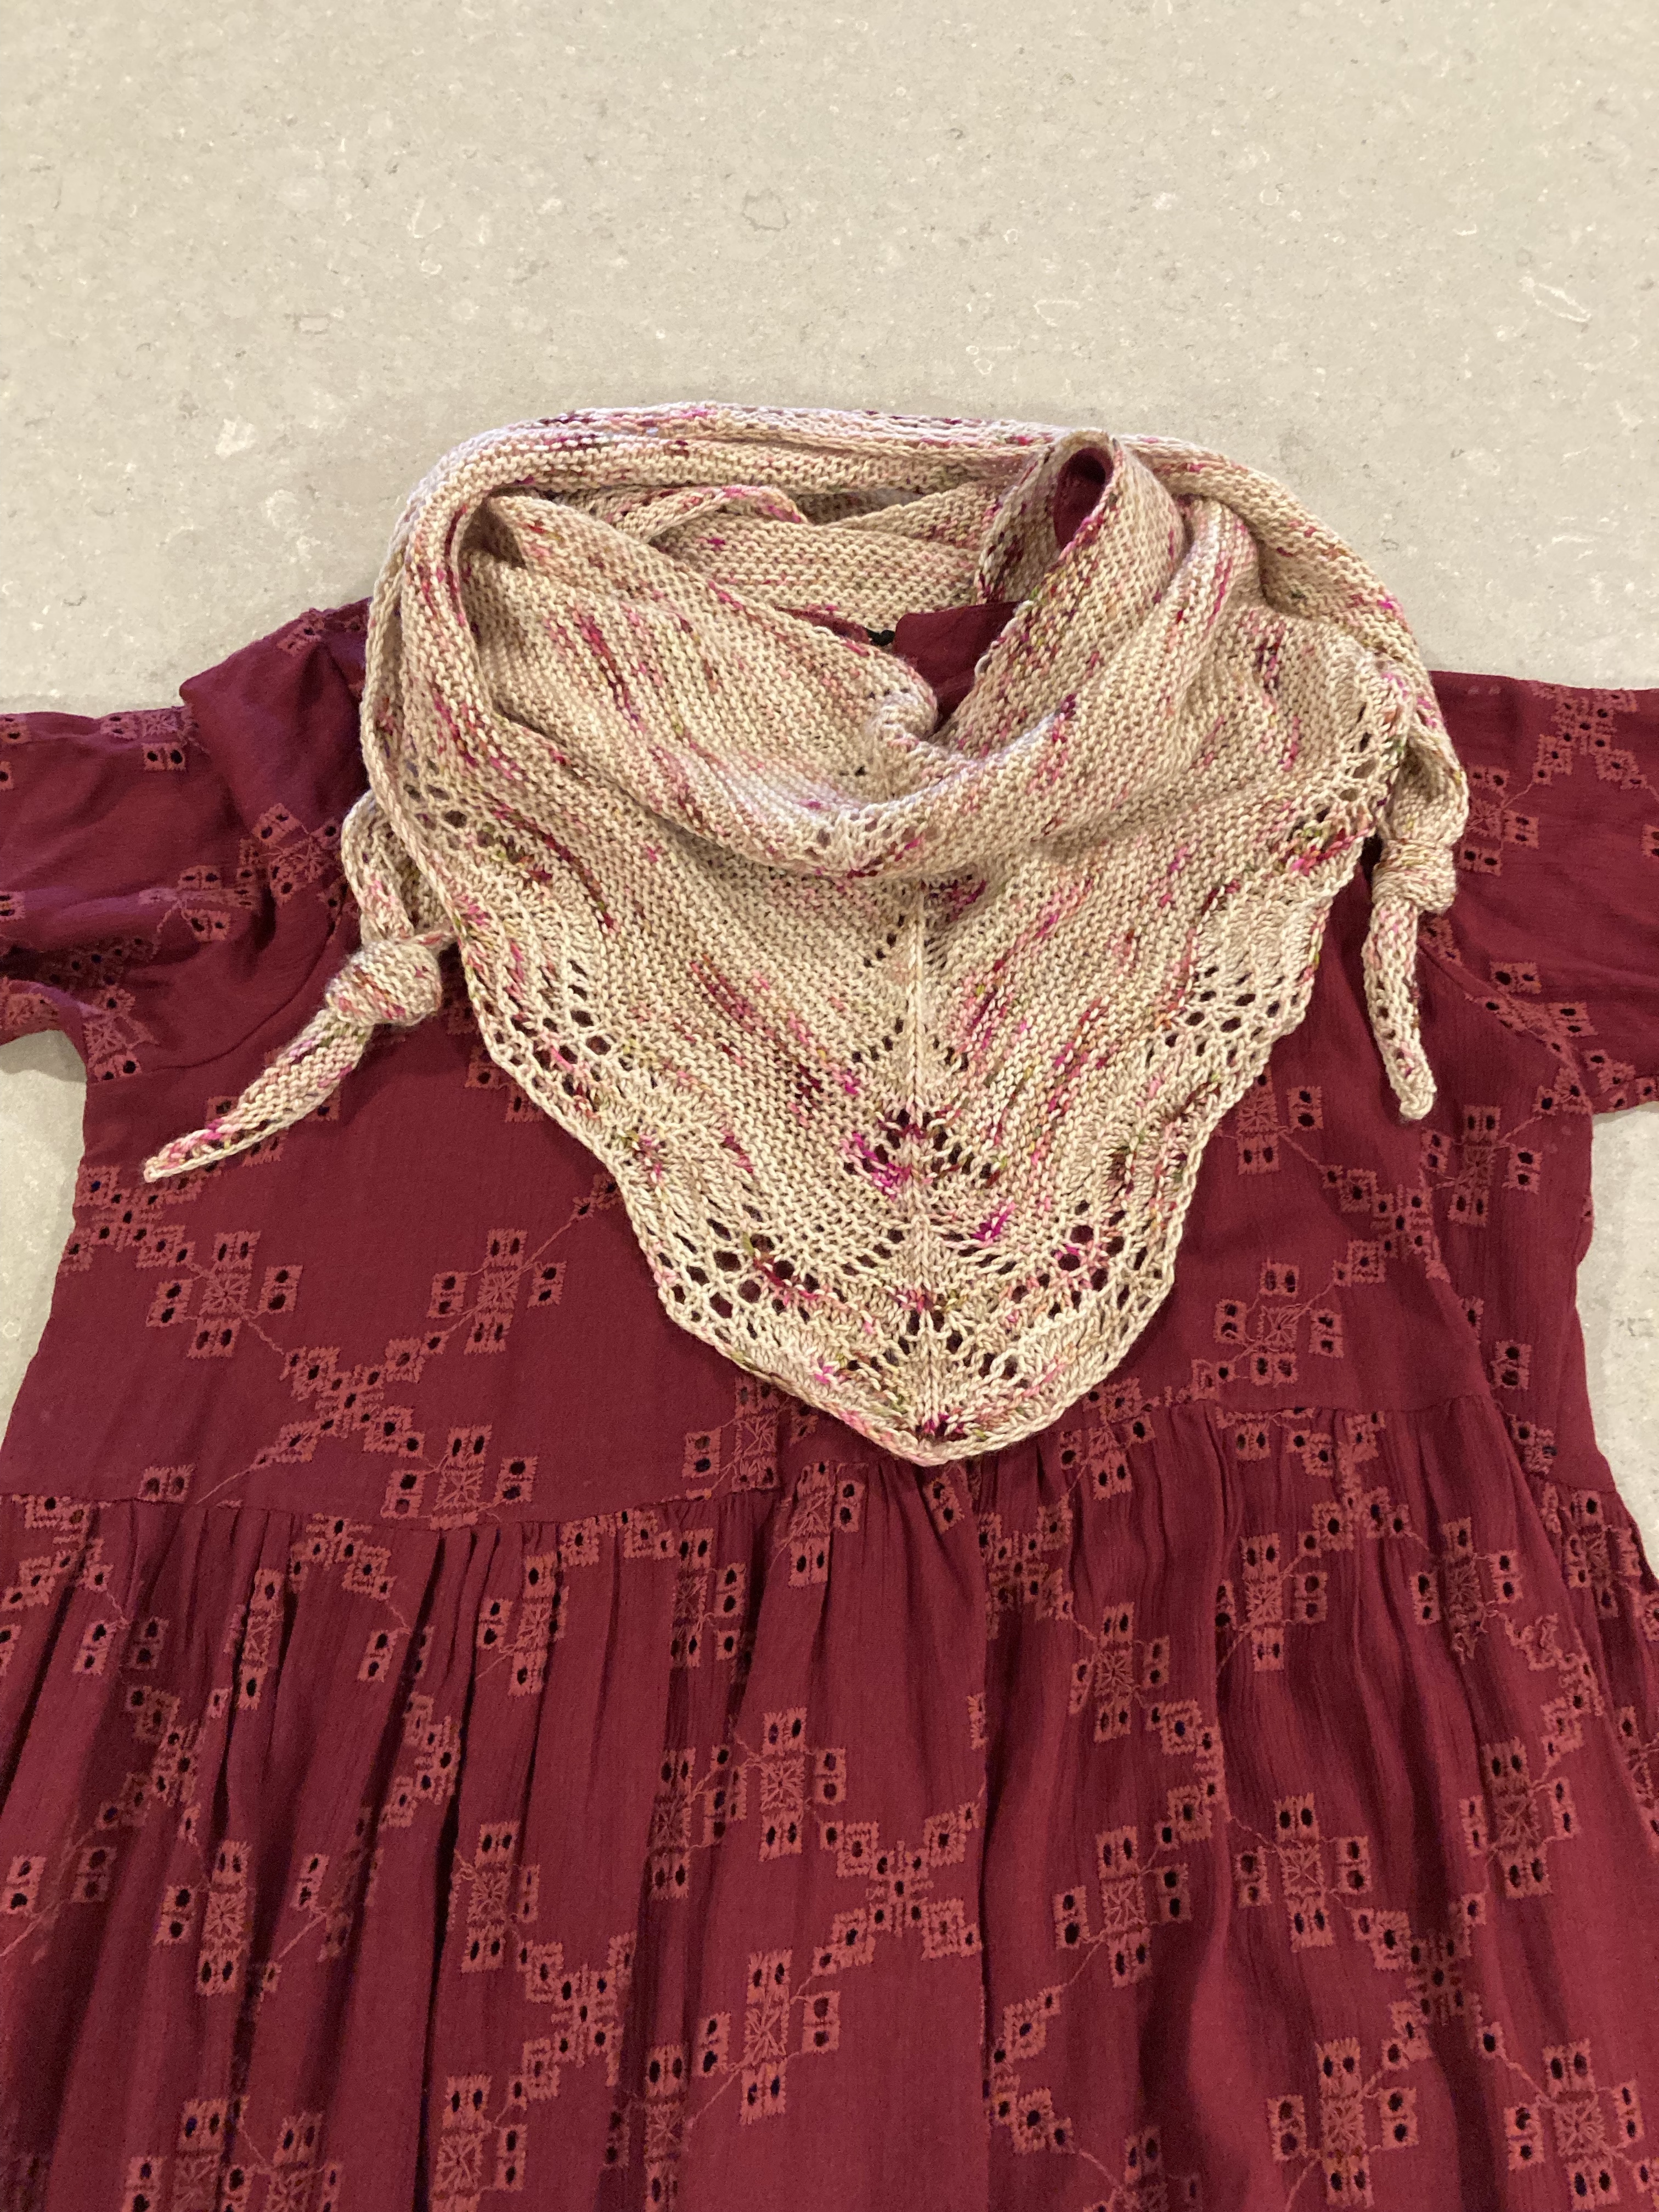
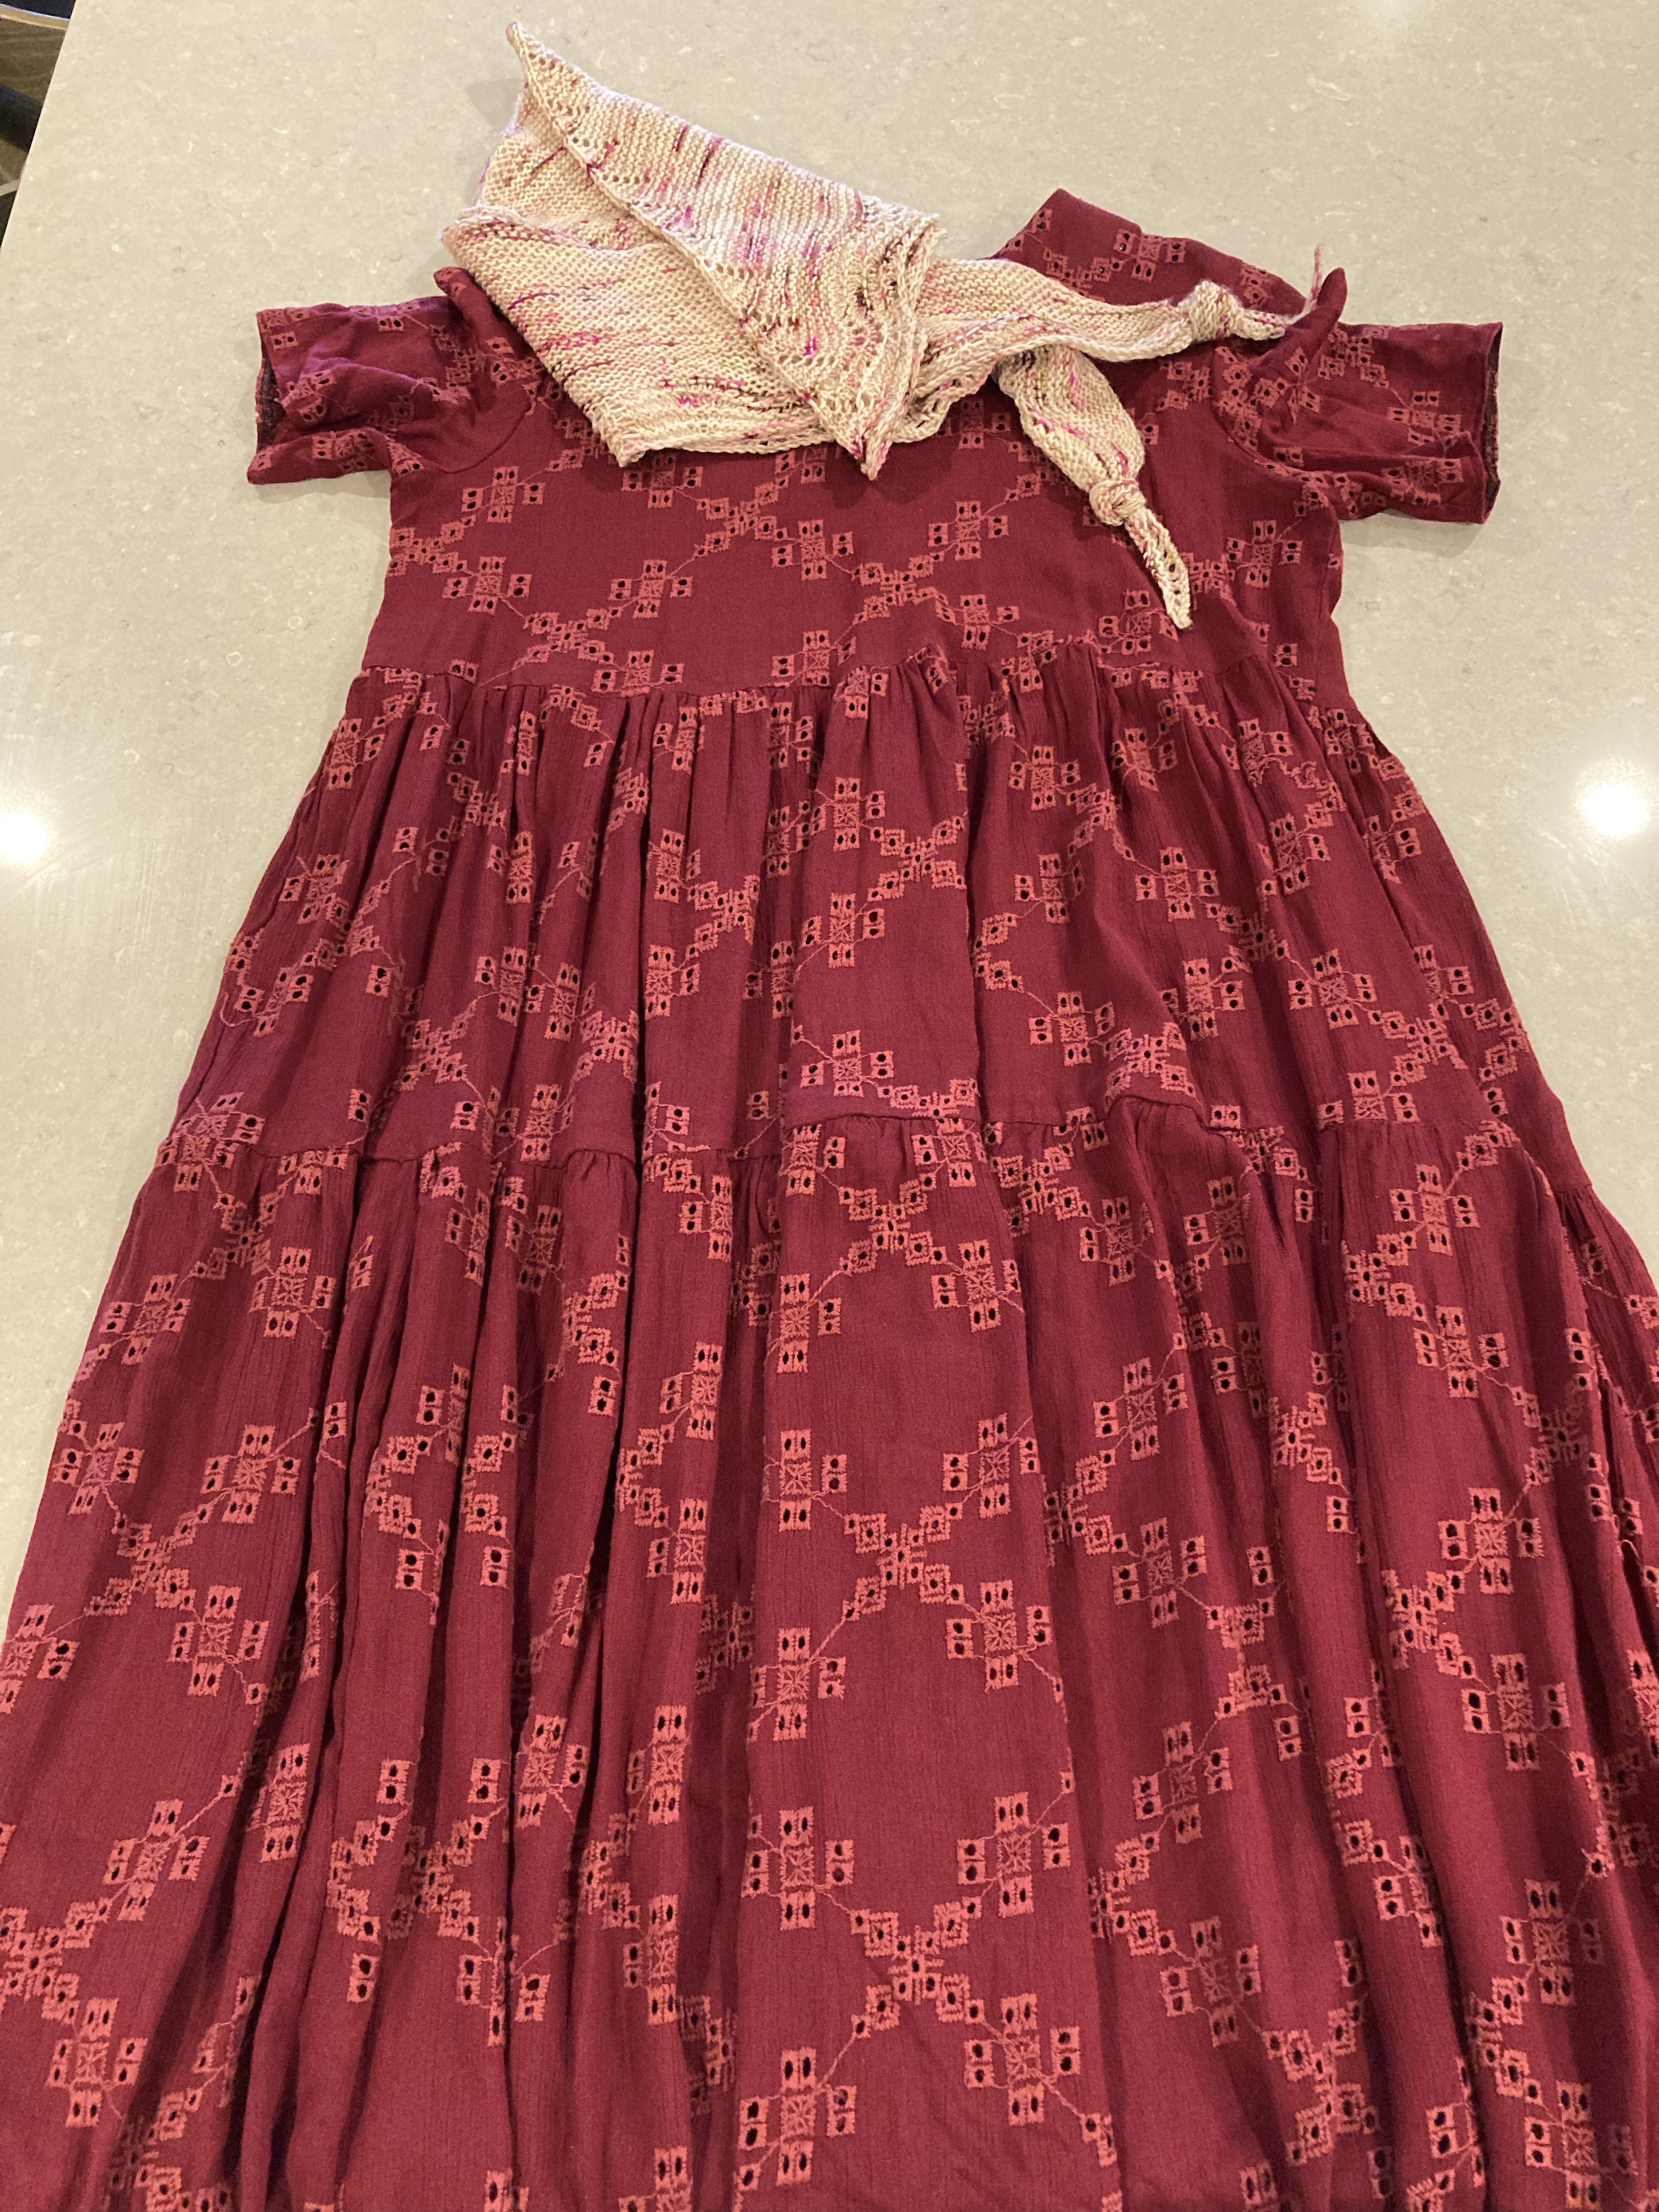
It’s a 100% self-made outfit! I love it when people say, “I like your dress!” or, “I like your scarf!” At which point I say, “Thanks, I made it!”

What yarn is this, you might ask? It is Dream in Color Smooshy with Cashmere in the February 2020 Pop Up colorway. I bought this when The Loopy Ewe lady was retiring and had a big sale. But don’t worry because The Loopy Ewe lives on! Visit their site, help a new owner of a previously loved LYS by grabbing some yarn!

My Knitting Life · Non-Knitting Projects

COLD BREW CHEAPOUT!

Want to make your own cold brew instead of paying for it? Here’s how to make it at home:

First of all, I purchased a clearance box of cold brew packets and learned from them to make my own. I got out my kitchen scale and weighed the packets to make sure I used the same amount of coffee. Each plastic-wrapped packet contains two filter-wrapped packets which makes 64 ounces of cold brew. Since each packet weighed 62 or 63 grams, I will need to use 120 grams (4 oz.) of coffee to make 64 ounces (1/2 gallon).
Get out a half-gallon pitcher and put about a quart (32 oz.) of water in it. Get some #4 cone coffee filters, a stapler, and your favorite coffee. You will also need your kitchen scale.
Measure coffee evenly into two filters and staple each packet at the top. (You might have more success using 3 coffee filters and only putting 40 grams in each. It’ll be easier to staple.)
Coffee dry weight should be between 125 – 135 grams. I’m not sure what that is in ounces…you can check Google!
Carefully submerge the coffee packets into the water. You’re trying to get the air out of the packet and saturate the coffee.
I like to mark what type of coffee I’ve made with a piece of tape and a sharpie marker. I value my sleep and only drink decaf in the afternoon and evening!
Put it in the fridge, wait 24 hours and then bring it out of the fridge. Carefully remove the coffee packets. If one of the packets bursts, you’ll have chewy coffee!
Fill the pitcher with water.
Leave room to add some ice to cool it down if you’re like me, and not so good at waiting for the fridge to cool it down. Enjoy!
My Knitting Life · Non-Knitting Projects

Making in the Quiet Days

I’ve been knitting through these quiet days, but I haven’t finished as many things as I thought I might. Yes, there has been knitting in the evenings, but also sewing, stitching, and general peaceful projects to try my hand at.

First, I’ll mention that I bought an embroidered wool skirt at a second hand store (4 years ago?!), not because I wanted the skirt, but because I wanted to turn it into something else. I finally settled on turning the skirt into a bucket bag. Wow! That’s a change, huh? Check out the pictures:

OK, so I cheated and bought some leather handles from Amazon ($15) even though it took a week for Amazon to ship because everyone was obsessing about toilet paper in March.

I knitted some socks too. Two pairs. From 100 grams of the main yarn. To squeak out two pairs, I used some contrasting yarn for the cuff, heels, and toes for the larger pair. I just made a stockinette stitch leg and used the Arne and Carlos afterthought heel to show off the yarn and to just get this yarn out of my stash! Someone at church passed this yarn on to me. Thanks!

The pair on left is top down and 64 stitches; the pair on the right is toe up and 68 stitches.

I hope you have found some peaceful quiet times during this pandemic to relax and work with your hands!

Baby Patterns · Non-Knitting Projects

Houndstooth Heaven

Subtitled: How to Upcycle a Sweater

I was in a thrift store a few years back and saw what I affectionately call an “oops” sweater. You know, the kind of sweater where someone didn’t believe the “dry clean only” directions?! In fact, I found three of them, so I bought them with the well-meaning intention of doing something fabulous with them. Several years later I am just getting around to working with them. Here are all the items I made with one sweater:

20180103_161809

Much of the sweater body went to make a custom computer case with leather details (I also bought a leather skirt at the thrift store that day–smile). Actually, I finished this right after buying the sweater. The sweater sleeves went to make some water bottle covers and coffee travel cozies. And my feet are showing off the me-sized slippers. I modified a pattern from Purl Soho (here’s the LINK) by sandwiching some plastic canvas between the bottom pieces, blanket stitching it all together, and then adding a back strap. Instant warmth! Or, maybe several hours of sewing and then the warmth.

As for those sweet little baby slippers, I used another pattern from Purl Soho (Felt Baby Slippers). I cut out the pattern pieces with my pinking shearers, pinned them together, and then hand sewed them with sock yarn and a running stitch. Maybe 2 hours tops to complete. You can also check out this patternLINK for baby shoes.

Yeah, I’m not going to be doing this again, except for the baby slippers because they’re so cute! And to be honest, I feel like a super-dork in my slippers, but a warm super-dork!

20180103_161925-220180103_162032-220180103_161854-2

Non-Knitting Projects

Photo Display Project

artifact-uprising-zeke-filter

OK, so I did it. I ordered those 25 free prints from Artifact Uprising. And just like AU’s website says, I got some great photos off my device and into my life. Sort of. The pics sat around for a whole month in their protected, well-packed cardboard box.

But after I got the photos, I started exploring how to display them. I considered framing each one and hanging them in a grid. But a grid’s worth of matching frames would cost several hundred dollars. Not happening.

Then I thought I would like to hang little shelves with the pics lazily leaning against the wall. Major project. Weekend of hardware store, drilling, installing. No time for that this year.

How about whimsically hanging them with clothespins from baker’s twine? Well, that’s a nice look. For a dorm room…

So I started playing around with my Cricut and some black paper. I cut a black paper mat, 7.5 inches square, with a 4.5 inch square hole in the middle. That makes a 1.5″ border all around. Then I used blue painter’s tape to secure each picture to its mat.

artifact-uprising-2-zeke-filter

After that, I cut a 7.5″ square for backing, using a tape runner (think scrapbook store!) to secure the backing to the mat. I rolled 4 pieces of the blue tape and put one piece in each corner. Then I hung them. Voila! I created an eye-catching photo display that makes a pretty bold visual statement.

For a 4 x 4 display–16 photos, you’ll need 32 pieces (or more, if you’re mistake-prone like me!)of 8.5 x 11.5 cardstock, a roll of blue painter’s tape, a scrapbook-style tape runner, a level, a large blank wall.

P.S. I use this tape at school all the time to keep papers and posters on the wall. It doesn’t leave residue like regular masking tape and removes easily without tearing the paper. But don’t hold me to that. (Insert smiley face here!)